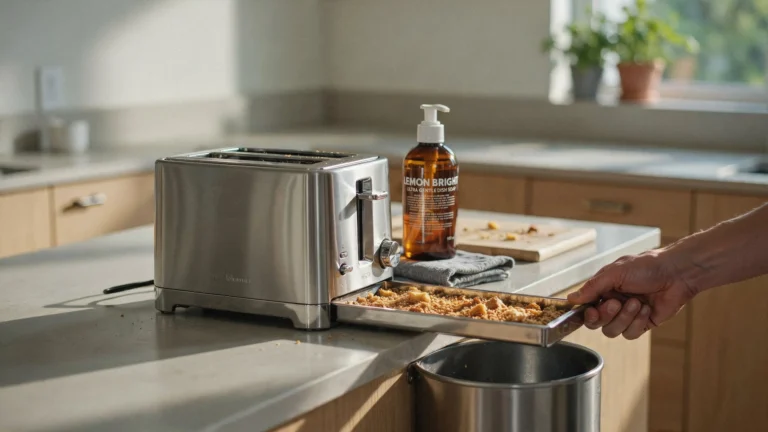
Image source: Food & Wine
If your coffee has started tasting bitter, brewing slower than usual, or coming out lukewarm, your coffee maker probably doesn’t need replacing—it needs a deep clean. Over time, two different kinds of buildup collect inside coffee machines: mineral scale from water and oily coffee residue from brewed coffee. Both can affect taste, smell, temperature, and performance. KitchenAid Urnex
According to Hamilton Beach, coffee reservoirs can also become surprisingly grimy over time, citing research that found reservoirs among the germiest places in the home. So yes—deep cleaning your coffee maker is about flavor, but it’s also about hygiene. Hamilton Beach
Why Deep Cleaning a Coffee Maker Matters
A quick rinse helps with visible mess, but deep cleaning tackles the stuff you can’t see. Descaling removes calcium and magnesium deposits left behind by hard water, while cleaning removes stale coffee oils and residue. If you skip either one, your machine can clog, brew too slowly, smell odd, or make coffee that tastes flat or bitter. KitchenAid Urnex
Signs Your Coffee Maker Needs a Deep Clean
If your machine is taking forever to brew, making gurgling noises, leaving white residue, or producing off-flavored coffee, it’s probably overdue. Some models even have a cleaning indicator light. KitchenAid
What You’ll Need
For most drip coffee makers, the basics are simple: warm water, mild soap, a soft cloth or sponge, and either a descaling product or white vinegar. If you’re cleaning a carafe with stubborn stains, hot water and a cleaner made for coffee oils can help more than plain rinsing. KitchenAid Serious Eats
How to Deep Clean a Coffee Maker
1. Wash the removable parts first
Start by emptying the basket and washing the carafe, lid, and filter basket in warm, soapy water. Some parts may be top-rack dishwasher-safe, but check your manual first. Let everything dry fully before reassembling. KitchenAid
2. Wipe down the outside
Don’t ignore the exterior. Coffee drips on the hot plate and outside housing can burn, smell smoky, and make the whole machine feel dirtier than it is. A damp cloth is usually enough for the outside. KitchenAid Serious Eats
3. Run a descaling cycle
For many standard drip coffee makers, manufacturers like KitchenAid recommend a half white vinegar, half water solution if you’re not using a commercial descaler. Hamilton Beach gives a slightly different drip-machine method: add 2 cups of plain white vinegar to the reservoir, start brewing, stop after about 30 seconds, wait 30 minutes, then finish the cycle. KitchenAid Hamilton Beach
4. Let the solution sit before finishing
This is one of the best hacks because it gives the descaling solution time to break down internal buildup instead of rushing through the machine. Hamilton Beach specifically recommends pausing the brew after 30 seconds, then waiting 30 minutes before completing the cycle. Hamilton Beach
5. Rinse more than once
After descaling, run 2 to 3 cycles of clean water through the machine. This flushes out loosened mineral residue and removes any lingering vinegar or descaler taste. KitchenAid Hamilton Beach Serious Eats
6. Deep-clean the carafe separately
The carafe often holds onto old coffee oils even after the machine itself is descaled. Serious Eats recommends treating the carafe as its own cleaning project, especially if it’s stainless steel, since oils cling to rougher surfaces more easily than glass. Serious Eats
Image source: Serious Eats
8 Coffee Maker Deep-Cleaning Hacks That Actually Help
Hack 1: Pause the brew cycle
Letting vinegar or descaler sit inside the machine for 20–30 minutes helps loosen scale in the internal tubes and heating system. This is one of the easiest ways to get a better clean without extra scrubbing. Hamilton Beach
Hack 2: Leave lids and compartments open to dry
After cleaning, keep the reservoir lid and filter basket open so trapped moisture can evaporate. This helps reduce bacteria and mildew growth between uses. KitchenAid
Hack 3: Clean the hot plate with a wet paper towel
If your drip machine has a stained hot plate, Hamilton Beach recommends laying a wet paper towel over the cooled plate until burnt-on spots soften, then wiping clean. Hamilton Beach
Hack 4: Don’t forget the reservoir walls
Even after running a cleaning cycle, residue can cling to the reservoir itself. Serious Eats suggests wiping the inside of the reservoir after descaling if you can reach it safely. Serious Eats
Hack 5: Treat the carafe like a separate cleaning job
Descaling the machine does not automatically remove old coffee oils from the carafe. If your coffee still tastes stale after cleaning the machine, the carafe may be the problem. Serious Eats
Hack 6: Use the right cleaner for the right problem
This is the hack most people miss: descaling and cleaning are not the same thing. Scale comes from water minerals; coffee residue comes from oils. If you only descale, you may still have bitter, smelly coffee. If you only wash the carafe, you may still have internal scale choking the machine. Urnex
Hack 7: Use filtered water going forward
Filtered water can reduce mineral buildup and help stretch the time between deep cleans. KitchenAid
Hack 8: Clean on a schedule, not when it smells bad
KitchenAid says daily brewers may need descaling about once a month, while Serious Eats notes many people should consider descaling about every six months, more often if they brew heavily or have hard water. The takeaway: water hardness and usage matter, so don’t wait for your coffee to taste awful before you act. KitchenAid Serious Eats
Vinegar vs. Descaler: Which Is Better?
For many standard drip coffee makers, official brand guidance from KitchenAid and Hamilton Beach supports vinegar-based cleaning cycles. But coffee specialists at Serious Eats argue that purpose-made descalers are more effective, less smelly, and less risky for certain machines. So the best rule is simple: use your manufacturer’s instructions first, especially if you have something other than a basic drip machine. KitchenAid Hamilton Beach Serious Eats
What Not to Do
Don’t submerge the full machine in water. Don’t assume one rinse is enough after descaling. Don’t ignore the carafe, lid, basket, or hot plate. And don’t treat every coffee maker the same—single-serve, espresso, capsule, and drip machines can have different maintenance rules. KitchenAid Hamilton Beach
Quick Deep-Clean Routine
If you want the shortest version possible, here it is:
- Wash the removable parts.
- Wipe the outside and hot plate.
- Run a descaling cycle.
- Pause and let it sit.
- Finish the cycle.
- Run 2–3 fresh-water cycles.
- Dry everything with the lid open.
- Clean the carafe separately if it still smells stale. KitchenAid Hamilton Beach Serious Eats
Helpful Video Guides
- The Best Way To Clean Your Coffee Maker
- How to Clean Mr. Coffee® Coffee Makers
- How to Clean a Coffee Maker in 3 Steps | Consumer Reports
Final Thoughts
A deep-cleaned coffee maker doesn’t just look better—it brews faster, smells fresher, and makes noticeably better coffee. The biggest trick is understanding that real maintenance means doing both jobs: descaling the machine and cleaning away coffee oil residue. Once you start doing that regularly, your coffee maker will work better and your morning cup will taste like it should. Urnex KitchenAid