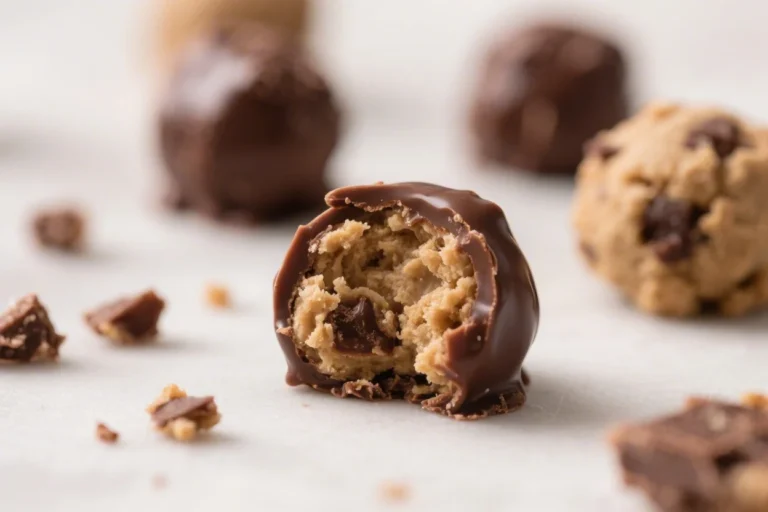
If you’re chasing a quick win for your sweet tooth, these Oreo Nutella Lava Bites are it. They’re crispy on the outside, warm and gooey in the middle, and dangerously easy to put together. No fancy tools, no complicated steps—just a handful of pantry staples and a few minutes of baking.
They’re the kind of treat you can whip up for movie night, last‑minute guests, or a late-night craving. Fair warning: they disappear fast.
Oreo Nutella Lava Bites The Ultimate Gooey Treat – Small, Sweet, and Irresistible
Ingredients
Method
- Pre-chill the Nutella. Scoop Nutella into 12 small teaspoons on a parchment-lined plate. Freeze for 20–30 minutes until firm but not rock hard. This helps the center stay molten while baking.
- Prep your pan. Heat the oven to 350°F (175°C). Lightly grease a mini muffin tin or line with mini paper liners.
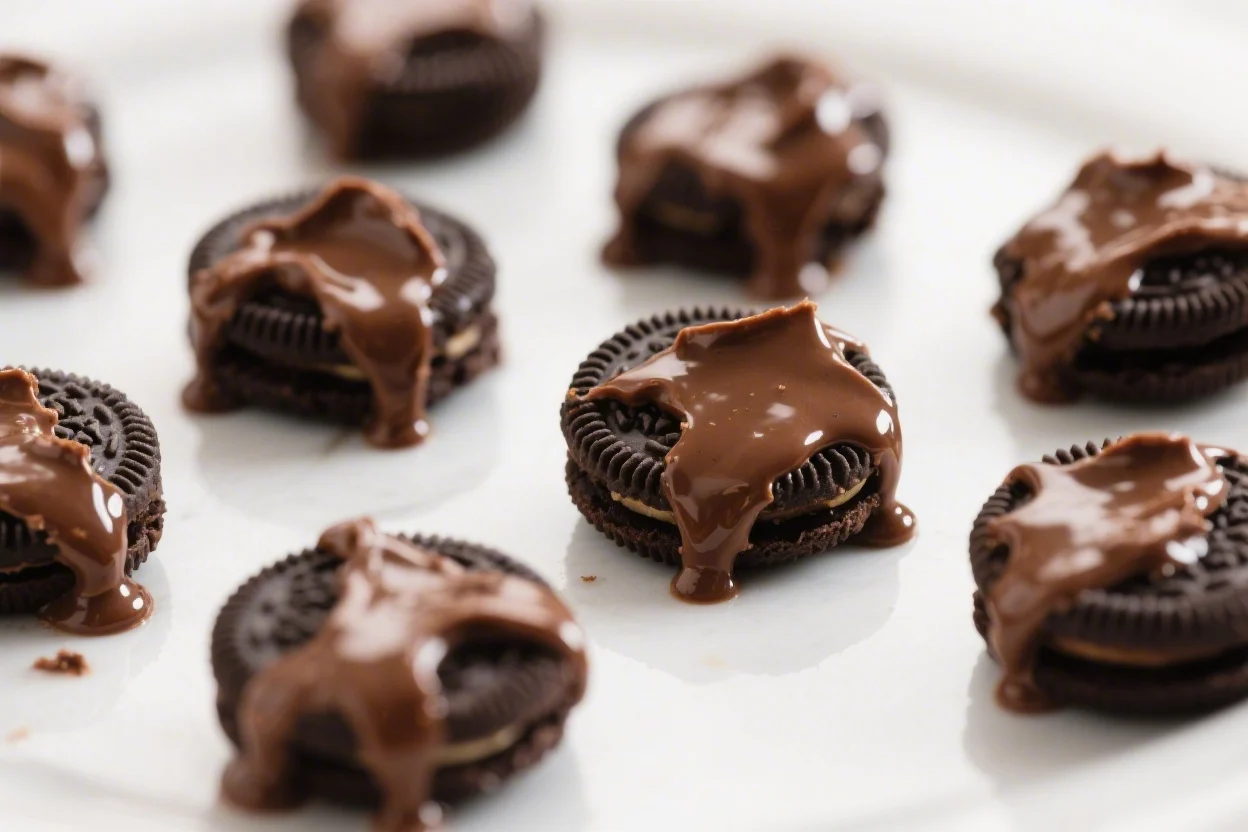
- Make Oreo crumbs. Add Oreos (cream and all) to a food processor and pulse to a fine crumb. No processor? Seal in a bag and crush with a rolling pin until sandy.
- Mix the dough. In a bowl, combine Oreo crumbs with softened cream cheese. Add melted butter, powdered sugar, vanilla, and a pinch of salt if using. Stir until you have a soft, slightly tacky dough that holds together when pressed.
- Portion the base. Scoop about 1 tablespoon of dough per bite. Press into each well of the mini muffin tin, pushing up the sides to form a small cup.
- Add the lava center. Place a frozen Nutella mound into each cup. Gently cover with a thin layer of dough, sealing the edges so the Nutella is enclosed.
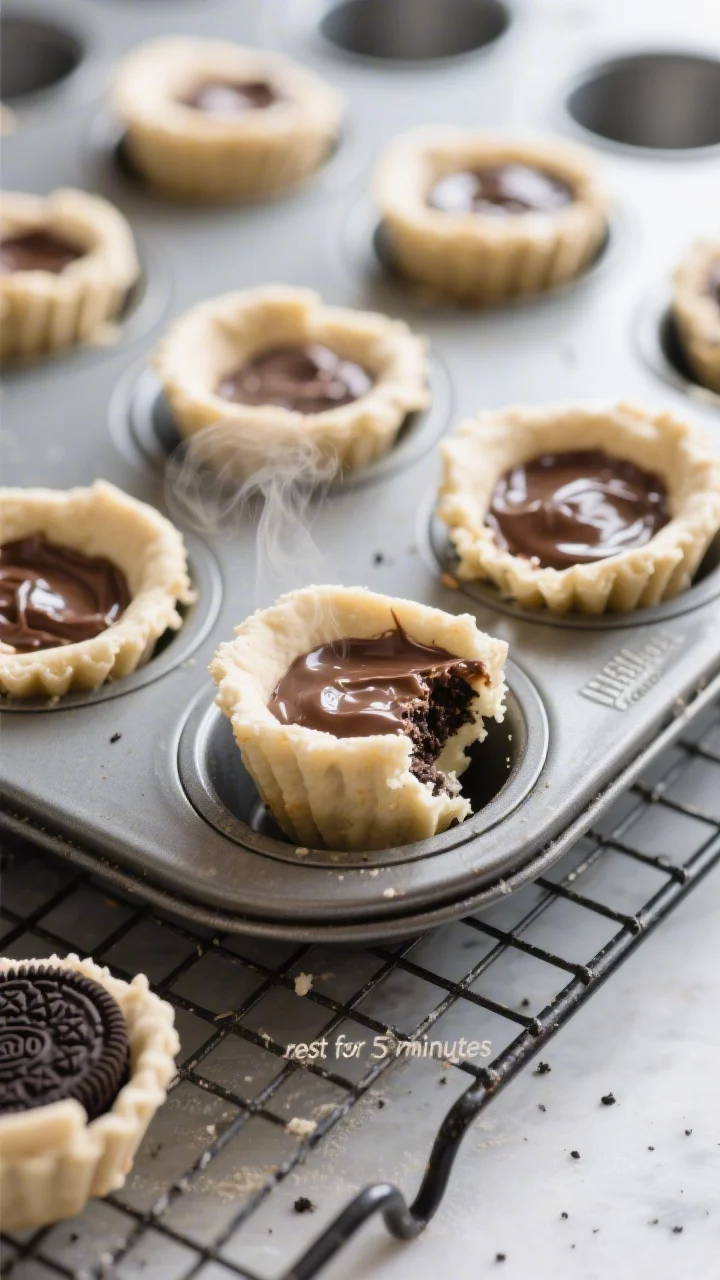
- Bake briefly. Bake for 8–10 minutes. You’re looking for a set surface with faint gloss and slightly firm edges. Don’t overbake—soft is good.
- Cool just a little. Let the bites rest in the pan for 5 minutes. Transfer to a cooling rack. They should still be warm and gooey inside.
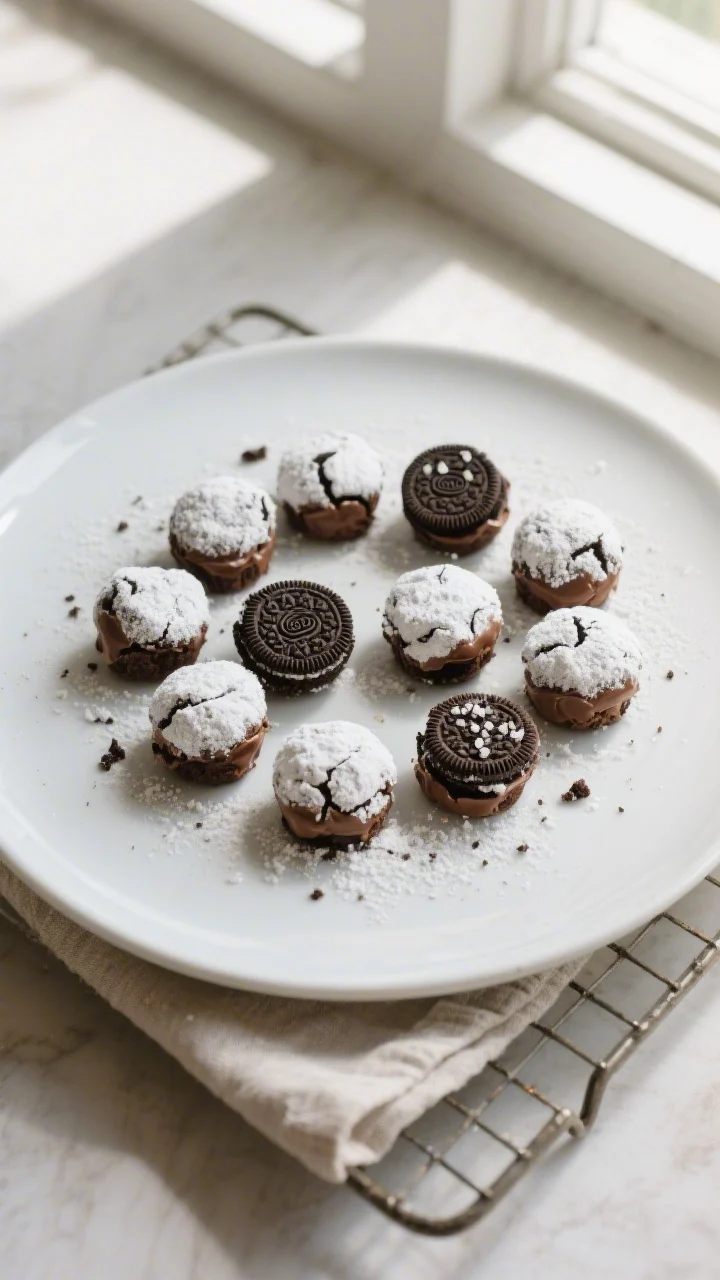
- Finish and serve. Dust with powdered sugar or a pinch of flaky salt. Serve warm for maximum lava effect.
What Makes This Special
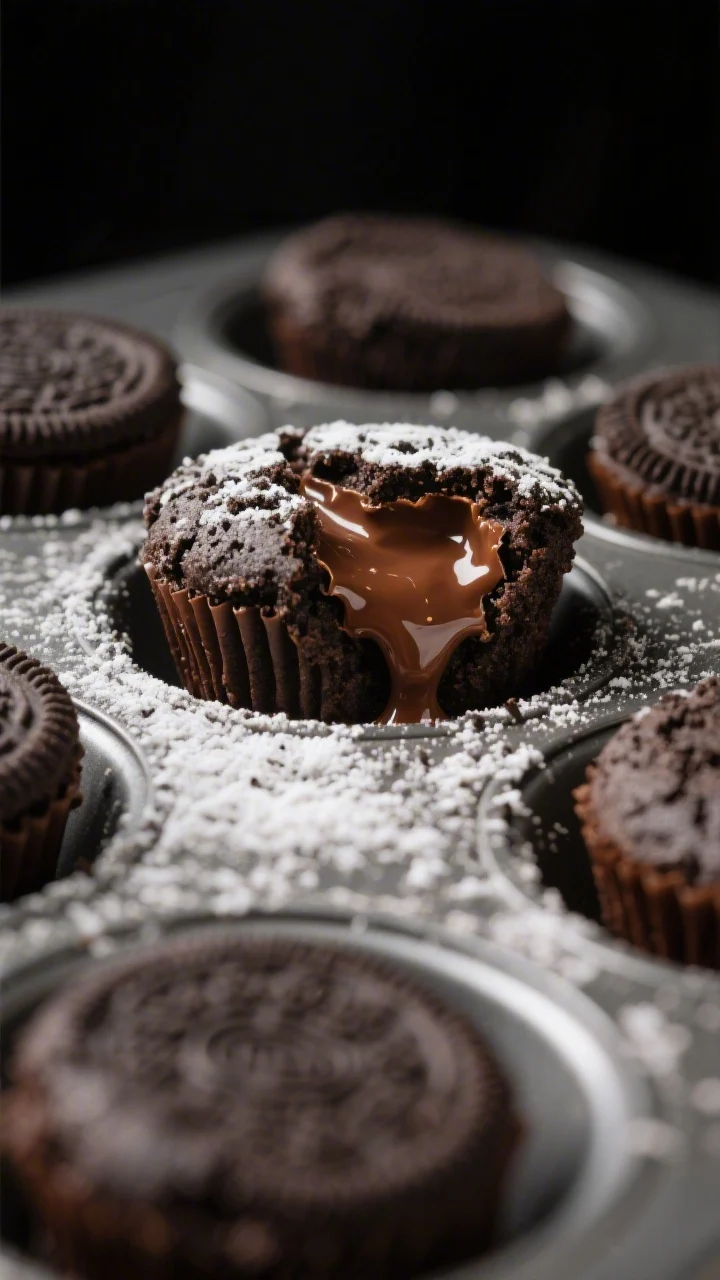
These bites deliver the best of both worlds: the deep cocoa crunch of Oreos and the rich, melty center of Nutella. The “lava” effect feels bakery-level, but the process is completely beginner-friendly.
It’s also a no-mess, small-portion dessert you can share or keep all to yourself. Even better, the base is flexible—swap in flavored Oreos, add a pinch of salt, or roll in toppings to make them your own.
Shopping List
- Oreos (regular, not Double Stuf) – about 22–24 cookies
- Cream cheese – 4 ounces (softened)
- Nutella – about 1/2 cup (chilled for easier handling)
- Butter – 2 tablespoons (melted), optional for richer flavor
- Powdered sugar – 1–2 tablespoons, optional for sweetness and dusting
- Fine sea salt – a pinch, optional to balance the sweetness
- Vanilla extract – 1/2 teaspoon, optional for aroma
- Nonstick spray or paper liners for a mini muffin tin
Instructions
- Pre-chill the Nutella. Scoop Nutella into 12 small teaspoons on a parchment-lined plate. Freeze for 20–30 minutes until firm but not rock hard.
This helps the center stay molten while baking.
- Prep your pan. Heat the oven to 350°F (175°C). Lightly grease a mini muffin tin or line with mini paper liners.
- Make Oreo crumbs. Add Oreos (cream and all) to a food processor and pulse to a fine crumb. No processor?
Seal in a bag and crush with a rolling pin until sandy.
- Mix the dough. In a bowl, combine Oreo crumbs with softened cream cheese. Add melted butter, powdered sugar, vanilla, and a pinch of salt if using. Stir until you have a soft, slightly tacky dough that holds together when pressed.
- Portion the base. Scoop about 1 tablespoon of dough per bite.
Press into each well of the mini muffin tin, pushing up the sides to form a small cup.
- Add the lava center. Place a frozen Nutella mound into each cup. Gently cover with a thin layer of dough, sealing the edges so the Nutella is enclosed.
- Bake briefly. Bake for 8–10 minutes. You’re looking for a set surface with faint gloss and slightly firm edges.
Don’t overbake—soft is good.
- Cool just a little. Let the bites rest in the pan for 5 minutes. Transfer to a cooling rack. They should still be warm and gooey inside.
- Finish and serve. Dust with powdered sugar or a pinch of flaky salt.
Serve warm for maximum lava effect.
Keeping It Fresh
These taste best warm on the day they’re baked. If you have leftovers, store in an airtight container at room temperature for up to 24 hours or in the fridge for up to 4 days. Reheat in the microwave for 10–15 seconds to revive the center.
For longer storage, freeze baked bites for up to 2 months. Thaw at room temperature and warm briefly before serving.
Benefits of This Recipe
- Fast and forgiving: Minimal prep, no intricate steps, and ready in about 30 minutes.
- Big flavor, small size: Bite-sized treats make portion control—and sharing—simple.
- Pantry-friendly: Uses common ingredients with plenty of wiggle room for swaps.
- Kid-approved: Fun to make and even more fun to eat. Great for parties and bake sales.
- Customizable: Easy to adjust sweetness, texture, and add-ins to suit your taste.
Pitfalls to Watch Out For
- Overbaking: The biggest culprit.
If they bake too long, the “lava” sets. Pull them as soon as the tops look set.
- Warm Nutella: If you skip chilling the Nutella, it can leak into the dough and reduce the goo factor.
- Too little sealing: Gaps in the dough let the filling escape. Pinch seams closed before baking.
- Crumb texture: If your Oreo crumbs are too coarse, the dough can crumble.
Aim for a fine, sandy texture.
- Overly sticky dough: If the mixture feels too wet, add a tablespoon of extra crumbs to firm it up.
Recipe Variations
- Salted Caramel Twist: Add a 1/2 teaspoon of caramel sauce on top of the Nutella before sealing. Finish with flaky sea salt.
- Peanut Butter Swirl: Mix 2 tablespoons of peanut butter into the Nutella or add a small dollop beside it for a two-tone center.
- Mint Nightcap: Use mint-flavored Oreos and add a drop of peppermint extract to the dough.
- Mocha Moment: Stir 1 teaspoon instant espresso powder into the dough to deepen the chocolate flavor.
- White Chocolate Drizzle: After baking, drizzle melted white chocolate over the tops for contrast.
- Gluten-Friendly Route: Use gluten-free chocolate sandwich cookies and check your Nutella alternative if needed.
- Crunch Factor: Roll the tops in crushed hazelnuts or mini chocolate chips before baking.
FAQ
Can I make these without cream cheese?
Yes. Replace cream cheese with 2–3 tablespoons of sweetened condensed milk or 3 tablespoons of mascarpone.
Add crumbs as needed to keep the dough moldable.
Do I need a mini muffin tin?
It helps, but you can shape the bites by hand and bake on a lined sheet. Form small discs, add the Nutella center, and seal into balls. Bake 1–2 minutes less and watch closely.
How do I keep the Nutella molten?
Chill the filling first, bake briefly, and let them rest just a few minutes after baking.
Serving warm is key. Overbaking or long cooling time will set the center.
Can I use Double Stuf Oreos?
You can, but the extra cream can make the dough softer. If using Double Stuf, cut back on cream cheese slightly or add more crumbs to balance the texture.
What if I don’t have a food processor?
No problem.
Put the cookies in a zip-top bag and crush with a rolling pin until fine. Press out excess air before sealing to avoid tears in the bag.
Can I prepare these ahead of time?
Yes. Assemble the unbaked bites and refrigerate for up to 24 hours or freeze for up to 1 month.
Bake from chilled or frozen, adding 1–2 minutes to the bake time as needed.
How can I reduce the sweetness?
Skip the powdered sugar, add a pinch of salt, and consider using dark chocolate sandwich cookies. A light dusting of cocoa powder instead of sugar also balances sweetness.
Why are my bites falling apart?
The dough is likely too dry or the crumbs too coarse. Work in 1–2 teaspoons of melted butter or a bit more cream cheese, and make sure crumbs are finely ground.
How many bites does this make?
Typically 12 mini bites, depending on scoop size and how generously you fill the cups.
Can I air-fry them?
Yes.
Place in a lined air-fryer basket and cook at 320°F (160°C) for 5–7 minutes. Check early and often—air fryers vary, and you want them just set on top.
In Conclusion
Oreo Nutella Lava Bites are the kind of dessert that feels special without asking much of you. They’re quick, customizable, and wildly satisfying straight from the oven.
Keep a jar of Nutella and a sleeve of Oreos on hand, and you’re never far from a warm, gooey treat. Once you try them, they’ll become your go-to sweet fix for any occasion.
Printable Recipe Card
Want just the essential recipe details without scrolling through the article? Get our printable recipe card with just the ingredients and instructions.