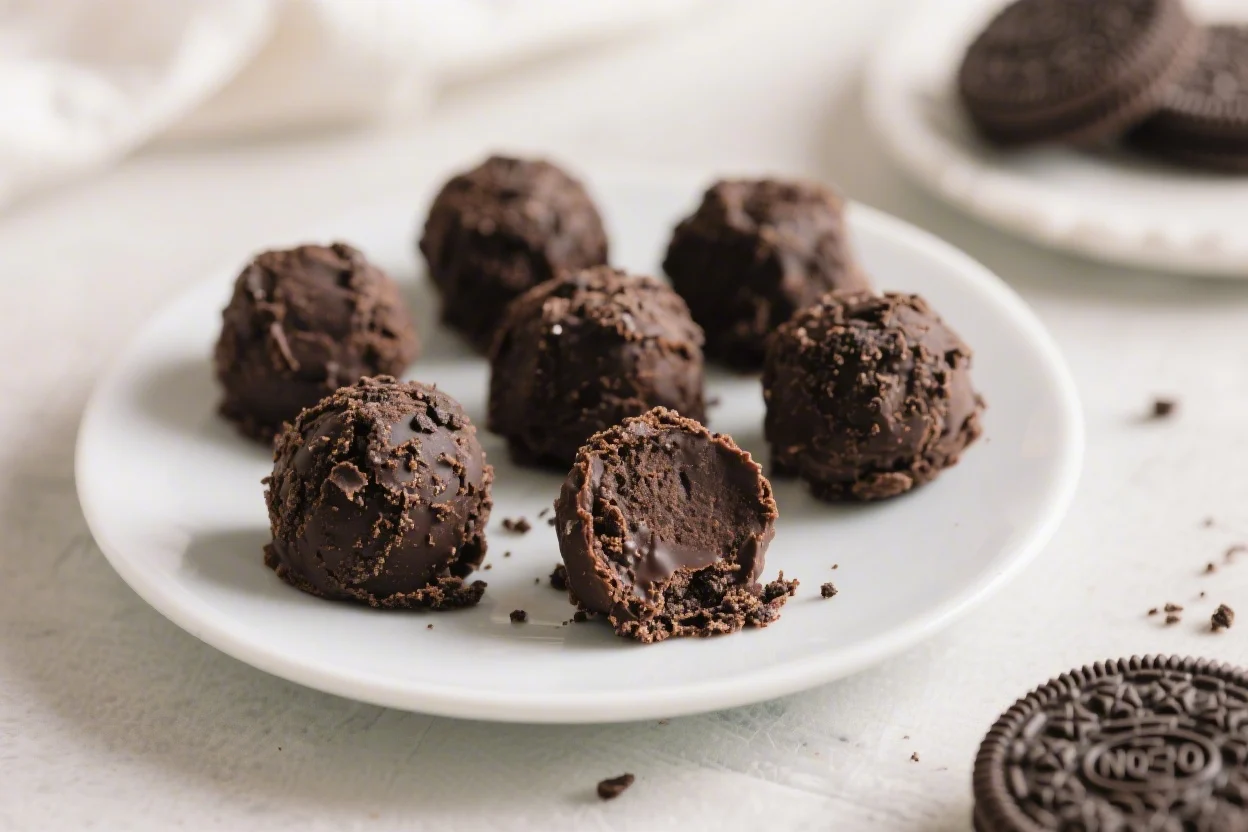
If you need a foolproof dessert that looks fancy and takes almost no effort, these no-bake Oreo truffles are it. They’re rich, creamy, and coated in chocolate, with that signature cookies-and-cream flavor everyone loves. No oven, no special tools, and no pastry skills required.
You can make them ahead, freeze them, and pull them out when guests arrive or a craving hits. They’re also wildly customizable, so you can make a batch that fits your style or the season.
No-Bake Oreo Truffles the Easiest Dessert You’ll Ever Make – Quick, Creamy, and Crowd-Pleasing
Ingredients
Method
- Crush the Oreos: Add the whole cookies (filling included) to a food processor and blitz into fine crumbs. If you don’t have a processor, seal them in a sturdy bag and crush with a rolling pin until sandy with no big chunks.
- Mix with cream cheese: In a bowl, combine the Oreo crumbs with softened cream cheese. Use a spatula or your hands to mix until smooth and fully combined. The mixture should look like a thick dough.
- Chill slightly (optional but helpful): Pop the bowl in the fridge for 10–15 minutes. This makes the mixture easier to roll and less sticky.
- Shape the truffles: Scoop 1 tablespoon portions and roll into balls. Line them on a parchment-lined baking sheet. Aim for golf-ball or slightly smaller size for best bite and coating.
- Freeze to set: Freeze the rolled balls for 15–20 minutes until firm but not rock solid. This keeps them from falling apart when dipped.
- Melt the chocolate: Place chocolate in a microwave-safe bowl. Heat in 20–30 second bursts, stirring between each, until smooth. Add 1 teaspoon of coconut oil if you want a thinner, glossier coating.
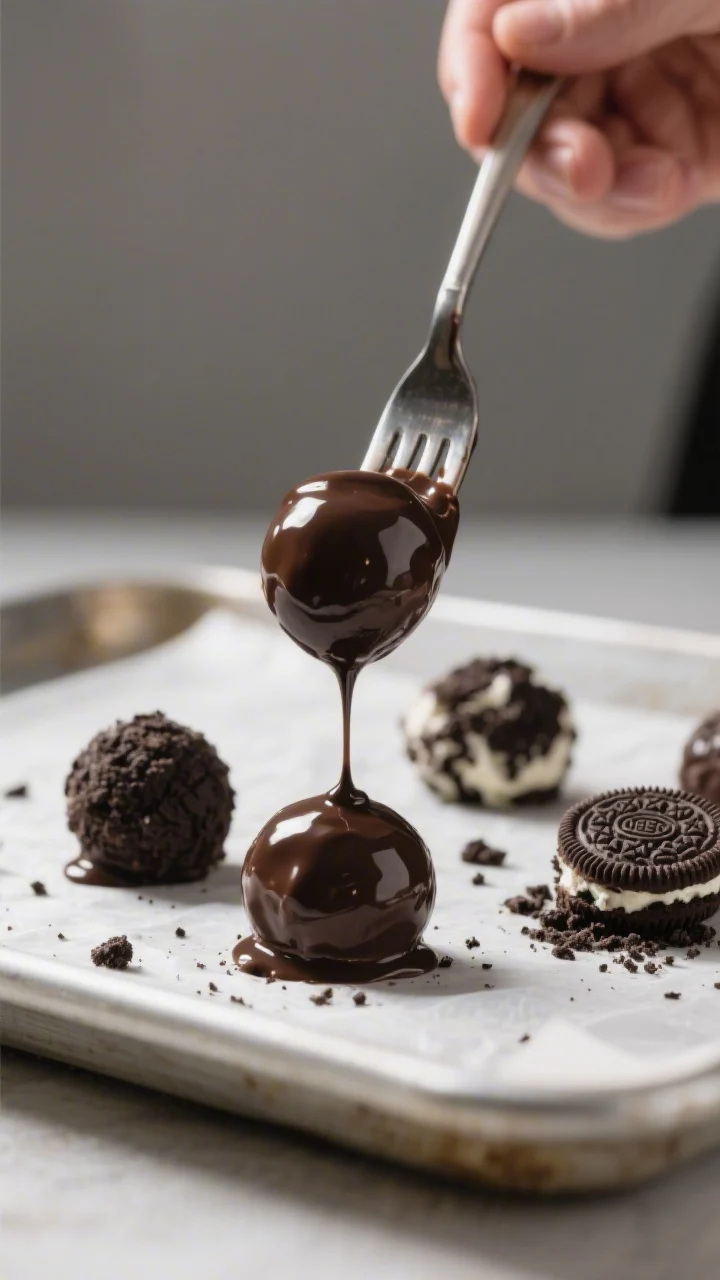
- Dip and coat: Using a fork, dip each chilled truffle in the melted chocolate. Tap off excess on the bowl edge and place back on the parchment. Work in batches so the centers stay firm.
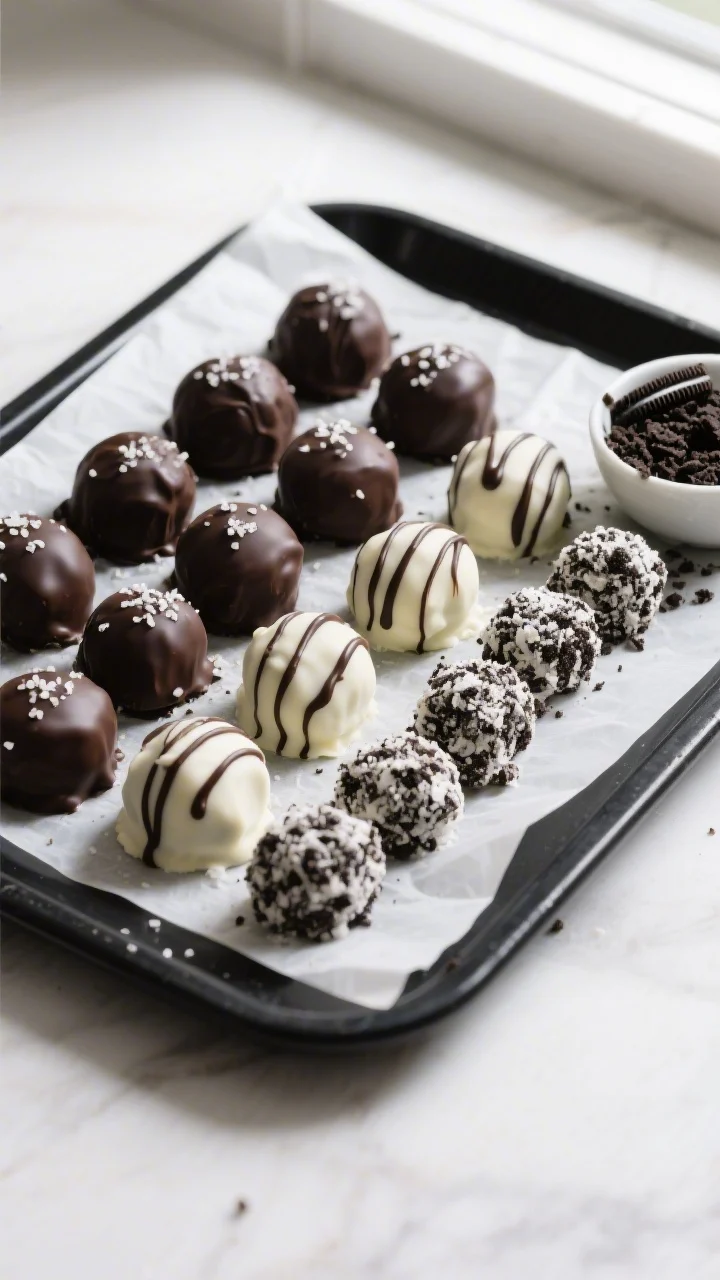
- Decorate: While the coating is wet, sprinkle with crushed Oreos, sprinkles, or sea salt. For a drizzle, wait until the coating sets, then pipe or spoon melted white or dark chocolate across the tops.
- Let them set: Allow the chocolate to harden at room temperature or chill for 10 minutes to speed it up. Once set, transfer to an airtight container.
What Makes This Special
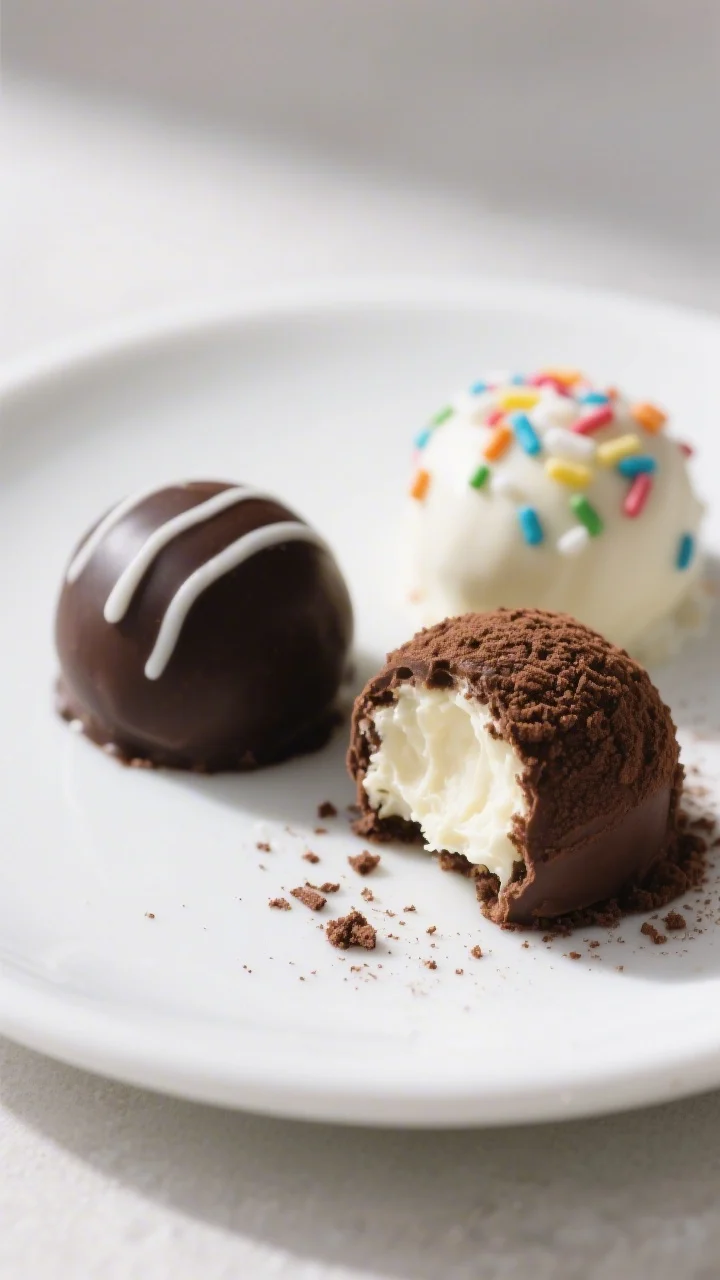
These truffles hit that perfect balance of simple and impressive. The base uses just two ingredients—Oreos and cream cheese—so the flavor is familiar but elevated.
Because you’re not baking, there’s less room for error and more time saved. They also hold up beautifully at parties, on dessert trays, or boxed up as gifts. And since you can decorate them with sprinkles, crushed cookies, or a chocolate drizzle, they always look polished with minimal effort.
Shopping List
- Oreos: One 14.3-ounce package (about 36 cookies).
Regular, not Double Stuf, for best texture.
- Cream cheese: 8 ounces, softened to room temperature. Full-fat gives the best structure.
- Chocolate for coating: 12–16 ounces of semisweet or dark chocolate chips, melting wafers, or almond bark.
- Optional add-ins/toppings:
- White chocolate (for drizzling or coating)
- Sprinkles or crushed Oreos
- Sea salt flakes
- Crushed peppermint, toasted coconut, or chopped nuts
- Vanilla or peppermint extract (a few drops)
- Food coloring (for white chocolate accents)
- Coconut oil (1–2 teaspoons to thin melted chocolate, if needed)
- Tools: Food processor or zip-top bag + rolling pin, mixing bowl, baking sheet, parchment paper, fork or dipping tool.
How to Make It
- Crush the Oreos: Add the whole cookies (filling included) to a food processor and blitz into fine crumbs. If you don’t have a processor, seal them in a sturdy bag and crush with a rolling pin until sandy with no big chunks.
- Mix with cream cheese: In a bowl, combine the Oreo crumbs with softened cream cheese.
Use a spatula or your hands to mix until smooth and fully combined. The mixture should look like a thick dough.
- Chill slightly (optional but helpful): Pop the bowl in the fridge for 10–15 minutes. This makes the mixture easier to roll and less sticky.
- Shape the truffles: Scoop 1 tablespoon portions and roll into balls.
Line them on a parchment-lined baking sheet. Aim for golf-ball or slightly smaller size for best bite and coating.
- Freeze to set: Freeze the rolled balls for 15–20 minutes until firm but not rock solid. This keeps them from falling apart when dipped.
- Melt the chocolate: Place chocolate in a microwave-safe bowl.
Heat in 20–30 second bursts, stirring between each, until smooth. Add 1 teaspoon of coconut oil if you want a thinner, glossier coating.
- Dip and coat: Using a fork, dip each chilled truffle in the melted chocolate. Tap off excess on the bowl edge and place back on the parchment.
Work in batches so the centers stay firm.
- Decorate: While the coating is wet, sprinkle with crushed Oreos, sprinkles, or sea salt. For a drizzle, wait until the coating sets, then pipe or spoon melted white or dark chocolate across the tops.
- Let them set: Allow the chocolate to harden at room temperature or chill for 10 minutes to speed it up. Once set, transfer to an airtight container.
Storage Instructions
- Refrigerator: Store truffles in an airtight container for up to 1 week.
Keep layers separated with parchment to prevent sticking.
- Freezer: Freeze for up to 2 months. Thaw in the fridge for 30–60 minutes before serving for the best texture.
- Make-ahead tip: You can freeze the undipped balls for up to 1 month. Dip in fresh chocolate the day you plan to serve.
Health Benefits
Let’s be honest—these are a treat.
But there are a few small upsides. Portion control is built in, so you can enjoy a single truffle for a sweet bite without committing to a large dessert. Because they’re rich, a little goes a long way, which can help curb over-snacking.
If you’re looking to lighten them, try a few tweaks.
Use reduced-fat cream cheese to cut some calories while keeping the texture creamy. Choose dark chocolate (60–70% cacao) for a touch more antioxidants and a deeper flavor that makes each bite more satisfying. And remember, balanced eating includes room for joy—these fit that bill.
What Not to Do
- Don’t use Double Stuf Oreos: The extra filling can make the mixture too soft and greasy, leading to mushy truffles.
- Don’t skip chilling: Warm dough won’t dip well.
Chilling prevents crumbling and keeps the centers intact.
- Don’t overheat the chocolate: Burnt or seized chocolate turns grainy. Heat in short bursts and stir often.
- Don’t dip room-temp centers: If the balls warm up, return them to the freezer. Cold centers create a neat, even coating.
- Don’t store uncovered: Exposure to air makes the coating dull and the centers dry.
Always use an airtight container.
Variations You Can Try
- Classic white chocolate: Dip in white chocolate and finish with crushed Oreos or a dark chocolate drizzle.
- Mint chocolate: Add 1/4 teaspoon peppermint extract to the dough. Coat in dark chocolate and top with crushed candy canes.
- Peanut butter swirl: Mix 2 tablespoons peanut butter into the dough or drizzle it over the top. Great with milk chocolate.
- Mocha vibe: Stir in 1 teaspoon instant espresso powder.
Dip in dark chocolate and dust with cocoa.
- Birthday cake: Use Golden Oreos, dip in white chocolate, and add rainbow sprinkles.
- Coconut crunch: Roll the dipped truffles in toasted coconut before the coating sets.
- Salted caramel: Drizzle with caramel sauce and finish with sea salt flakes.
FAQ
Can I make these without a food processor?
Yes. Place the Oreos in a heavy zip-top bag and crush them with a rolling pin until very fine. Take your time—fine crumbs help the truffles hold together better.
Why are my truffles too soft?
They likely have too much moisture or weren’t chilled long enough.
Use regular Oreos, not Double Stuf, and chill the rolled balls in the freezer for 15–20 minutes before dipping. If needed, add 1–2 tablespoons extra Oreo crumbs to firm up the mixture.
What’s the best chocolate for dipping?
Melting wafers or almond bark are the easiest for a smooth finish. If using chocolate chips, add a teaspoon of coconut oil to thin them slightly.
Avoid adding water—moisture can seize chocolate.
Can I use flavored Oreos?
Absolutely. Flavors like mint, peanut butter, or birthday cake work well. Just avoid extra-creamy varieties that might throw off the texture.
How do I prevent flat bottoms on the truffles?
Let the excess chocolate drip off by tapping the fork on the bowl edge, then gently slide the truffle onto the parchment.
You can also place them on a wire rack for more airflow, but parchment is simplest and works well.
Do they need to be refrigerated?
Yes. Because they contain cream cheese, store them in the refrigerator. They’re safe at room temperature for a couple of hours when serving, but return leftovers to the fridge.
Can I make them gluten-free?
Yes.
Use a gluten-free sandwich cookie similar to Oreos and check that your chocolate is certified gluten-free. The method stays the same.
How many does this recipe make?
About 24–30 truffles, depending on size. If you want bite-size pieces for a larger crowd, scoop slightly smaller and you’ll get more.
Why is my chocolate coating dull?
Overheating or moisture can cause a dull finish.
Melt gently, avoid steam or water, and let the truffles set at room temperature before chilling. Melting wafers also give a naturally glossy coat.
Can I add a crunchy center?
Yes. Press a mini chocolate chip, a roasted peanut, or a small caramel bit into the center when shaping.
Keep pieces small so the truffle holds together.
Wrapping Up
No-bake Oreo truffles are the definition of low effort, high reward. With just a handful of ingredients and a few simple steps, you get a dessert that looks polished and tastes like pure nostalgia. Keep a batch in your freezer, switch up the coatings, and you’ll always have a sweet, shareable treat ready to go.
Once you make them, they’ll become your go-to for parties, gifts, and last-minute dessert emergencies. Simple, creamy, and always a hit—what more could you ask for?
Printable Recipe Card
Want just the essential recipe details without scrolling through the article? Get our printable recipe card with just the ingredients and instructions.