
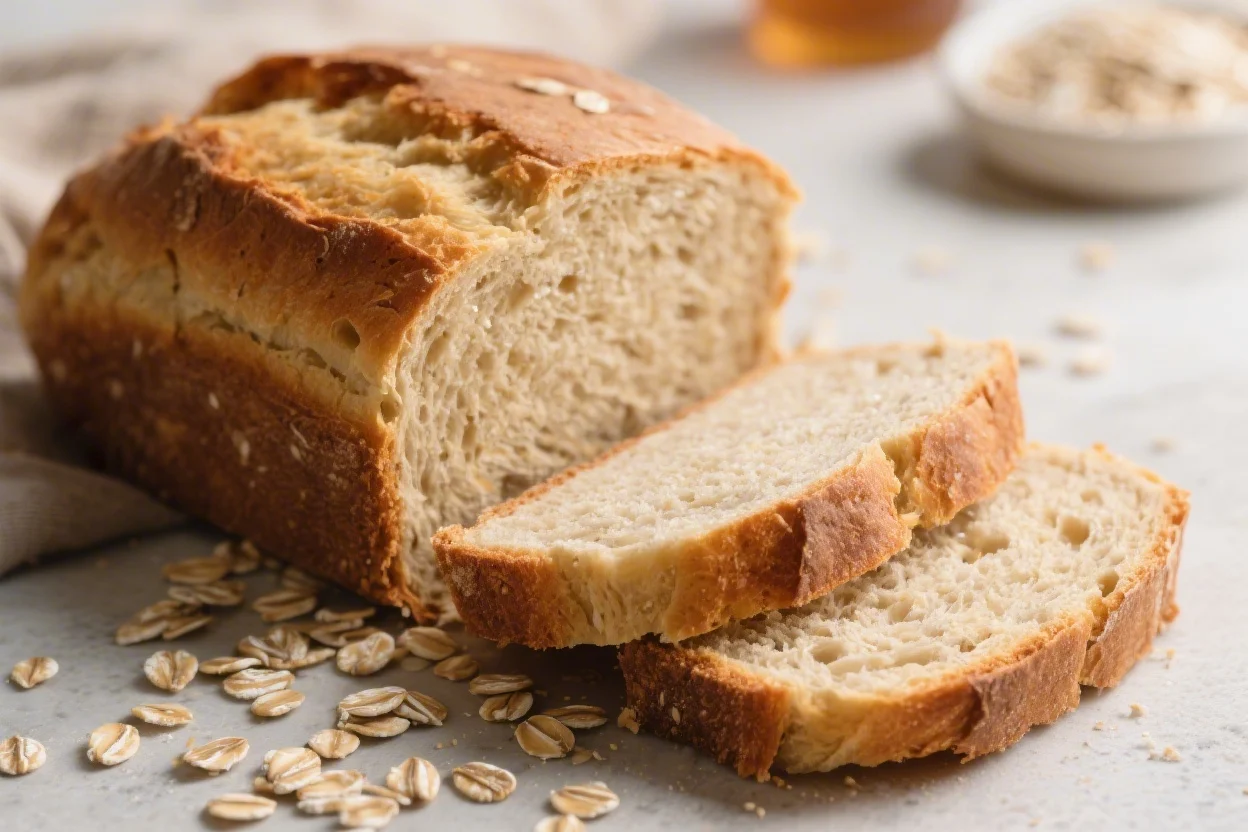
This is the kind of bread that makes your kitchen smell like home. Honey oat bread is tender, lightly sweet, and just hearty enough to feel substantial without being heavy. It toasts beautifully, holds together for sandwiches, and feels special even with just a swipe of butter.
If you’ve been wanting a no-stress baking project that rewards you with soft slices and a golden crust, this is it. No fancy techniques or equipment—just honest, comforting bread.
Honey Oat Bread The Soft Slightly Sweet Loaf That Feels Like a Warm Hug – Comfort Baking Made Simple
Ingredients
Method
- Warm the liquid base: In a small saucepan or microwave-safe bowl, warm 1 cup milk and 1/3 cup water until gently warm to the touch (about 105–115°F). Stir in 3 tablespoons honey and 2 tablespoons butter until melted. If it gets too hot, let it cool—too much heat can kill the yeast.
- Bloom the yeast: In a large mixing bowl, add 2 1/4 teaspoons active dry yeast. Pour the warm milk mixture over it and let sit 5–10 minutes until foamy. If using instant yeast, you can skip blooming and mix it directly with the dry ingredients, but make sure your liquids are still warm, not hot.
- Combine dry ingredients: In a separate bowl, mix 3 cups all-purpose flour, 1 cup rolled oats, and 1 1/2 teaspoons salt. This evenly distributes the salt and oats.
- Bring the dough together: Add the dry mix to the liquid and stir with a sturdy spoon until a shaggy dough forms. If it’s very sticky, add 1–3 tablespoons more flour, a little at a time. Aim for soft and slightly tacky, not dry.
- Knead: Turn the dough onto a lightly floured surface and knead for 8–10 minutes, until smooth and elastic. The dough should spring back when pressed. You can also use a stand mixer with a dough hook on medium-low for 6–8 minutes.
- First rise: Place the dough in a lightly greased bowl, cover with a clean towel or plastic wrap, and let rise in a warm place until doubled, about 60–90 minutes. If your kitchen is cool, it may take a bit longer.
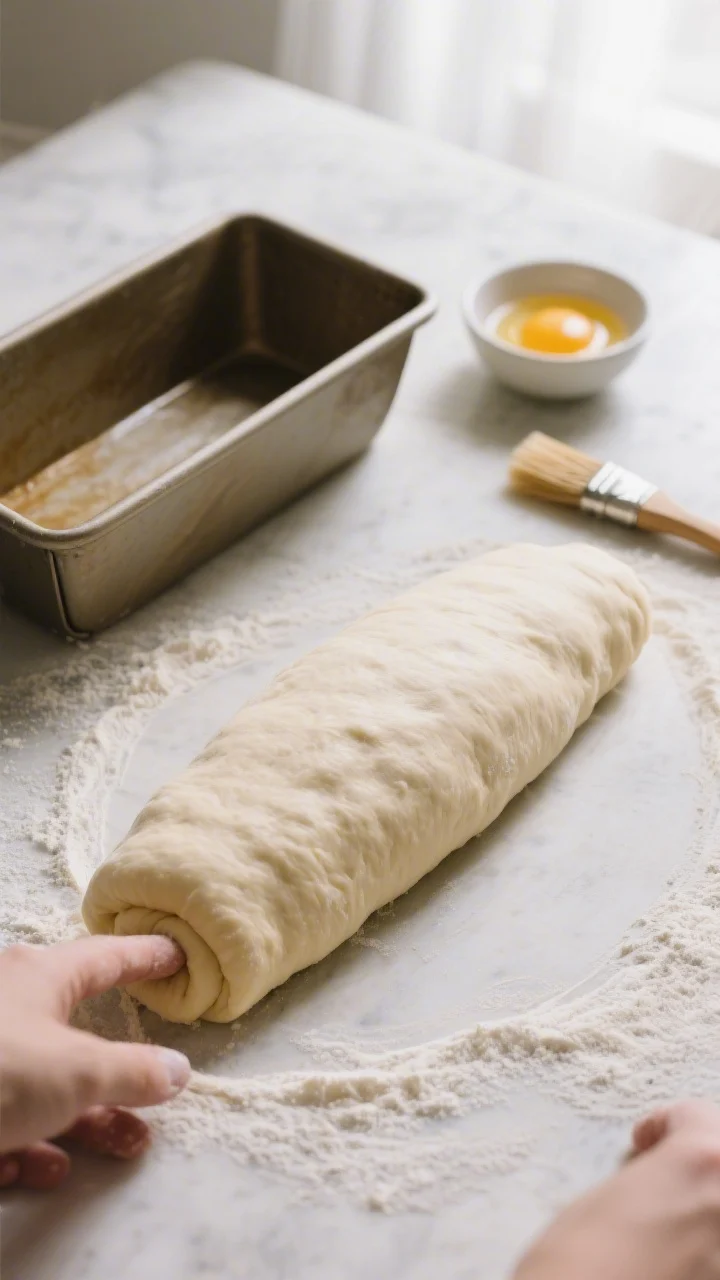
- Shape the loaf: Gently deflate the dough and pat it into a rectangle. Roll it up tightly from the short end, pinching the seam. Tuck the ends under and place the loaf seam-side down into a greased 9×5-inch loaf pan.
- Second rise: Cover and let rise until the dough domes slightly over the rim of the pan, about 45–60 minutes. It should look puffy and airy when gently pressed.
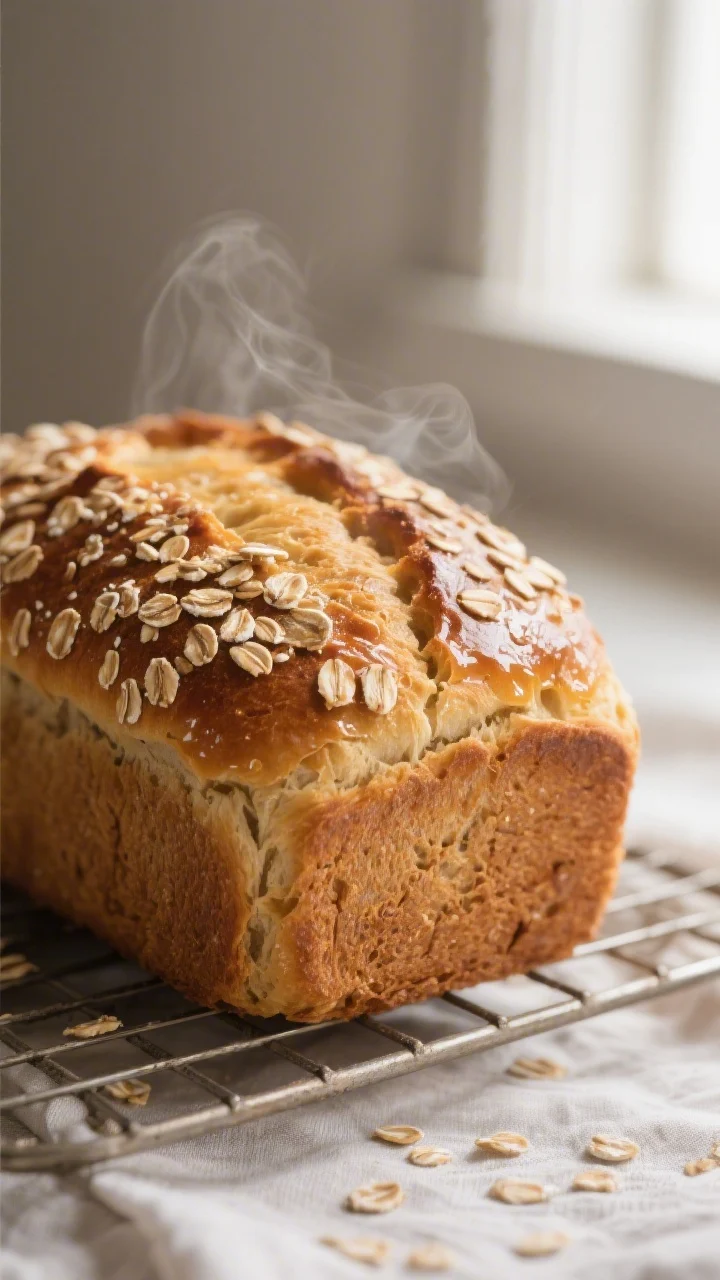
- Optional topping: For a bakery-style look, brush the top with a little milk or a beaten egg and sprinkle rolled oats over the surface.
- Bake: Preheat the oven to 350°F (175°C). Bake for 30–35 minutes, until the top is golden brown and the loaf sounds hollow when tapped. An instant-read thermometer should read about 190–195°F in the center.
- Cool: Let the loaf cool in the pan for 10 minutes, then transfer to a wire rack. Brush the warm top with a teaspoon of honey mixed with a teaspoon of warm water for a soft, shiny finish. Cool at least 45 minutes before slicing to keep the crumb tender.
What Makes This Special
This loaf hits the sweet spot between rustic and soft, with a velvety crumb and a gentle honey flavor. The oats give it body and a touch of chew, while milk and butter keep it tender.
It’s forgiving, approachable, and perfect for beginners. Plus, it’s versatile: breakfast toast, PB&J, grilled cheese, or a cozy side for soup all work beautifully.
- Soft but sturdy: Oats add structure without making it dense.
- Lightly sweet: Honey gives warmth and depth, not dessert-level sweetness.
- Simple method: One bowl, standard loaf pan, easy cleanup.
- Kid-friendly: Mild flavor and soft texture make it a family favorite.
Shopping List
- All-purpose flour (you can sub some whole wheat; see Alternatives)
- Old-fashioned rolled oats (not instant)
- Honey
- Milk (whole or 2%; nondairy options work)
- Water
- Unsalted butter (or neutral oil)
- Active dry yeast (or instant yeast)
- Salt
- Optional: Egg for egg wash, extra oats for topping
Instructions
- Warm the liquid base: In a small saucepan or microwave-safe bowl, warm 1 cup milk and 1/3 cup water until gently warm to the touch (about 105–115°F). Stir in 3 tablespoons honey and 2 tablespoons butter until melted.
If it gets too hot, let it cool—too much heat can kill the yeast.
- Bloom the yeast: In a large mixing bowl, add 2 1/4 teaspoons active dry yeast. Pour the warm milk mixture over it and let sit 5–10 minutes until foamy. If using instant yeast, you can skip blooming and mix it directly with the dry ingredients, but make sure your liquids are still warm, not hot.
- Combine dry ingredients: In a separate bowl, mix 3 cups all-purpose flour, 1 cup rolled oats, and 1 1/2 teaspoons salt.
This evenly distributes the salt and oats.
- Bring the dough together: Add the dry mix to the liquid and stir with a sturdy spoon until a shaggy dough forms. If it’s very sticky, add 1–3 tablespoons more flour, a little at a time. Aim for soft and slightly tacky, not dry.
- Knead: Turn the dough onto a lightly floured surface and knead for 8–10 minutes, until smooth and elastic.
The dough should spring back when pressed. You can also use a stand mixer with a dough hook on medium-low for 6–8 minutes.
- First rise: Place the dough in a lightly greased bowl, cover with a clean towel or plastic wrap, and let rise in a warm place until doubled, about 60–90 minutes. If your kitchen is cool, it may take a bit longer.
- Shape the loaf: Gently deflate the dough and pat it into a rectangle.
Roll it up tightly from the short end, pinching the seam. Tuck the ends under and place the loaf seam-side down into a greased 9×5-inch loaf pan.
- Second rise: Cover and let rise until the dough domes slightly over the rim of the pan, about 45–60 minutes. It should look puffy and airy when gently pressed.
- Optional topping: For a bakery-style look, brush the top with a little milk or a beaten egg and sprinkle rolled oats over the surface.
- Bake: Preheat the oven to 350°F (175°C).
Bake for 30–35 minutes, until the top is golden brown and the loaf sounds hollow when tapped. An instant-read thermometer should read about 190–195°F in the center.
- Cool: Let the loaf cool in the pan for 10 minutes, then transfer to a wire rack. Brush the warm top with a teaspoon of honey mixed with a teaspoon of warm water for a soft, shiny finish.
Cool at least 45 minutes before slicing to keep the crumb tender.
Storage Instructions
- Room temperature: Store in a bread box or wrapped in a clean towel, then placed in a loose plastic bag, for up to 3 days. Avoid sealing while warm—condensation leads to sogginess.
- Freezer: Slice the loaf, wrap tightly, and freeze for up to 2 months. Toast straight from frozen or thaw at room temp.
- Avoid the fridge: Refrigeration dries bread out quickly and dulls the flavor.
Health Benefits
- Whole-grain goodness: Rolled oats bring soluble fiber, which supports heart health and balanced digestion.
- Lower glycemic sweetness: Honey offers sweetness with a gentler spike than refined sugar and adds trace antioxidants.
- Steady energy: The mix of complex carbs and a little fat from butter provides satisfying, sustained fuel.
- Customizable nutrition: Swapping part of the white flour for whole wheat adds more fiber and minerals without sacrificing softness.
What Not to Do
- Don’t overheat the liquid: Liquids hotter than 120°F can kill yeast and prevent rising.
- Don’t over-flour: Too much flour makes the loaf dense.
Slightly tacky dough bakes up softer.
- Don’t rush the rises: Underproofed dough won’t develop flavor or structure. Let it get puffy.
- Don’t slice while hot: Cutting too early compresses the crumb and makes it gummy.
- Don’t skip salt: It’s essential for flavor and yeast control.
Alternatives
- Flour swap: Replace 1 to 1 1/2 cups all-purpose flour with whole wheat flour for a nuttier taste. If you go heavier on whole wheat, add an extra tablespoon of honey and a splash of water to keep it soft.
- Dairy-free: Use oat milk or almond milk and swap butter for olive oil or coconut oil.
Flavor stays lovely and the texture remains tender.
- No honey: Use maple syrup or brown sugar (same amount). Maple gives a gentle caramel note; brown sugar adds warmth.
- Seeded top: Sprinkle sunflower seeds, pumpkin seeds, or sesame on top after the egg wash for crunch.
- Overnight rise: After kneading, refrigerate the dough overnight. Shape and rise in the morning for improved flavor and a relaxed schedule.
Can I Make This with Instant Yeast?
Yes.
Use the same amount. Mix instant yeast with the dry ingredients, then add the warm liquid. The rest of the steps are the same, and rise times are similar.
How Do I Know the Dough Is Kneaded Enough?
It should feel smooth, elastic, and slightly springy.
When you press it with a fingertip, it should bounce back slowly. If you can stretch a small piece thin without tearing (a “windowpane”), you’re there.
Why Is My Loaf Dense?
Common causes are too much flour, liquid that was too hot (killing the yeast), or not enough rise time. Keep the dough slightly tacky, watch the dough instead of the clock, and proof in a warm, draft-free spot.
Can I Use Quick Oats?
Quick oats work in a pinch but may make the crumb slightly softer and less textured.
Avoid instant oats with added sugars or flavors.
What If I Don’t Have a Loaf Pan?
Shape a tight oval and place it on a lined baking sheet. It will spread a bit and bake faster; start checking at 25–28 minutes. You’ll get a rustic, free-form loaf.
How Sweet Is This Bread?
It’s gently sweet, not dessert-like.
If you want a more pronounced honey flavor, add up to 1 more tablespoon of honey and reduce the water slightly to keep the dough balanced.
Can I Add Mix-Ins?
Yes. Stir in up to 1/2 cup of chopped nuts, raisins, or seeds after the first mix. Keep the total add-ins modest to protect the loaf’s structure.
Final Thoughts
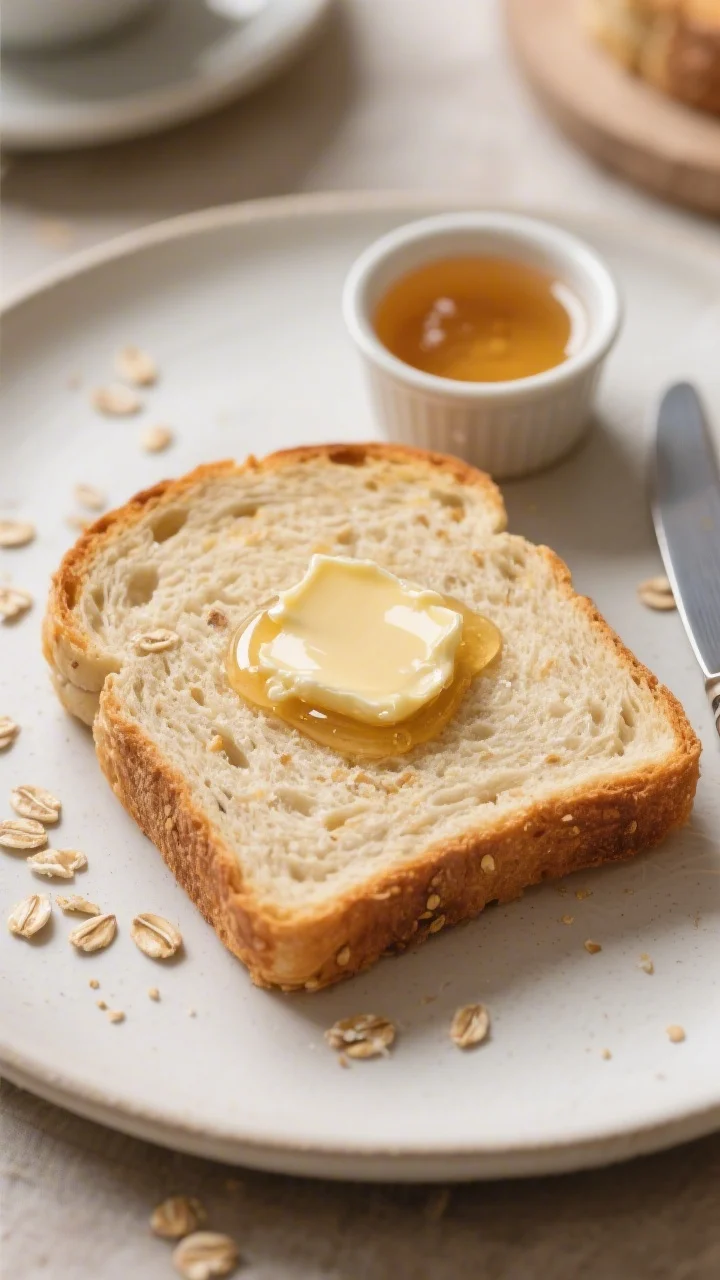
Honey oat bread is comfort in a slice—soft, a little sweet, and endlessly useful.
With a simple method and everyday ingredients, it’s the kind of recipe you’ll reach for again and again. Warm a slice, add butter and a drizzle of honey, and enjoy that cozy, home-baked calm anytime you need it. When a loaf can do that, it earns a permanent spot in your kitchen.
Printable Recipe Card
Want just the essential recipe details without scrolling through the article? Get our printable recipe card with just the ingredients and instructions.