Chocolate mousse has a way of making any dinner feel special, but it doesn’t need to be complicated. With a few pantry staples and a gentle touch, you can whip up a silky, airy mousse that looks restaurant-worthy. No special tools, no pastry degree—just a bowl, a whisk, and some patience.
The best part? It sets in the fridge while you get on with your day. If you’ve been nervous to try, this is the version that will make you wonder why you waited.
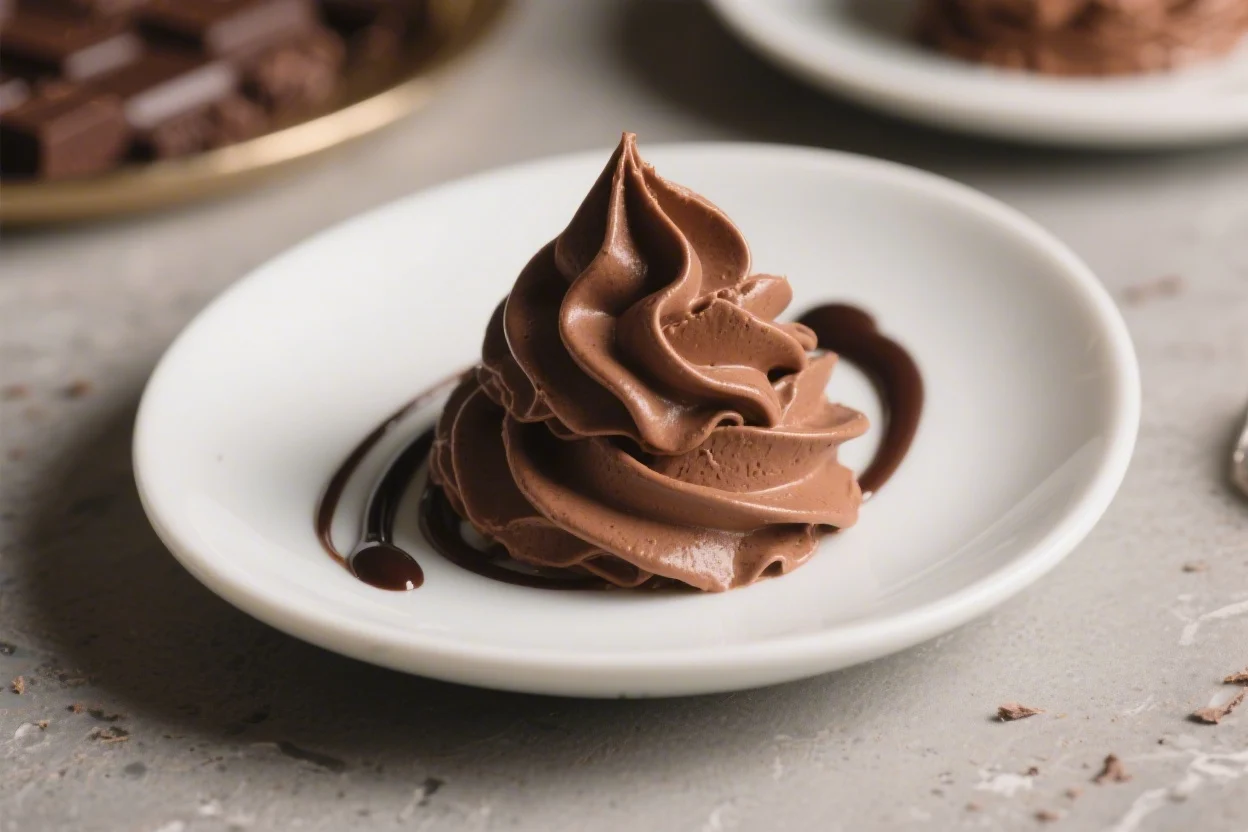
Chocolate Mousse the Fancy Dessert That’s Secretly Foolproof – Smooth, Rich, and Easy
Ingredients
Method
- Chill your tools. Place your mixing bowl and beaters in the fridge for 10 minutes. Cold tools help cream whip faster and hold better.
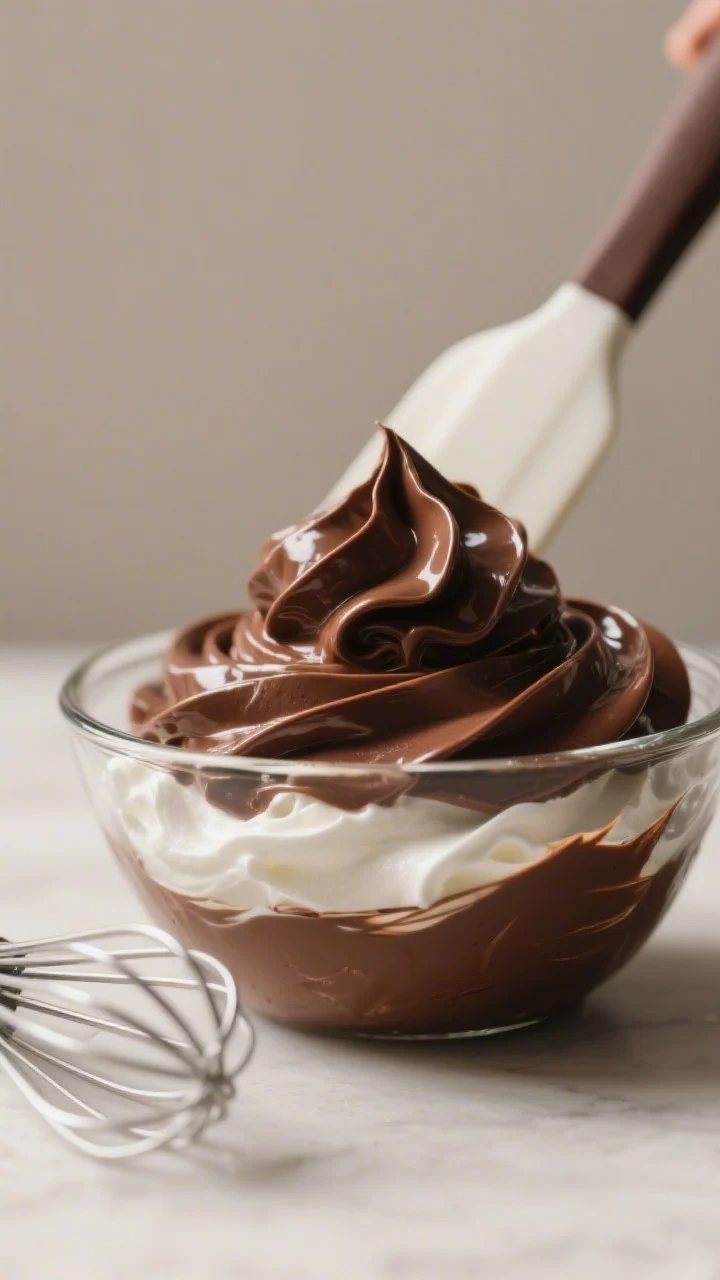
- Melt the chocolate. In a heatproof bowl, add the chopped chocolate, butter, and espresso powder if using. Set the bowl over a pot of barely simmering water (don’t let it touch the water) and stir until smooth. Remove from heat and let it cool to lukewarm. It should be glossy and slightly warm, not hot.
- Whip the cream. In the chilled bowl, add the heavy cream and 1 tablespoon of sugar. Beat until you get soft peaks—creamy, not stiff. Set aside in the fridge.
- Make the egg base. In a clean bowl, whisk the egg yolks with 1 tablespoon of sugar, vanilla, and a pinch of salt until thick and pale, about 1 minute by hand. Stir this into the cooled chocolate until fully blended. If the chocolate looks too thick, add 1 tablespoon of cream to loosen it.
- Whip the egg whites. In another clean, dry bowl, beat the egg whites until foamy. Slowly sprinkle in the remaining 1 tablespoon of sugar and continue beating until you have glossy soft peaks. Don’t overdo it; you want them supple, not dry.
- Lighten the chocolate. Fold one big spoonful of whipped cream into the chocolate mixture to loosen it. Use a gentle, sweeping motion with a spatula. This step makes the next folds easier.
- Fold in the egg whites. Add the whipped egg whites in two additions, folding gently to keep the air. Stop as soon as you don’t see big streaks. A few small streaks are okay; overmixing will deflate it.
- Add the remaining cream. Fold in the rest of the whipped cream just until combined. The mousse should look fluffy, smooth, and a shade lighter than before.
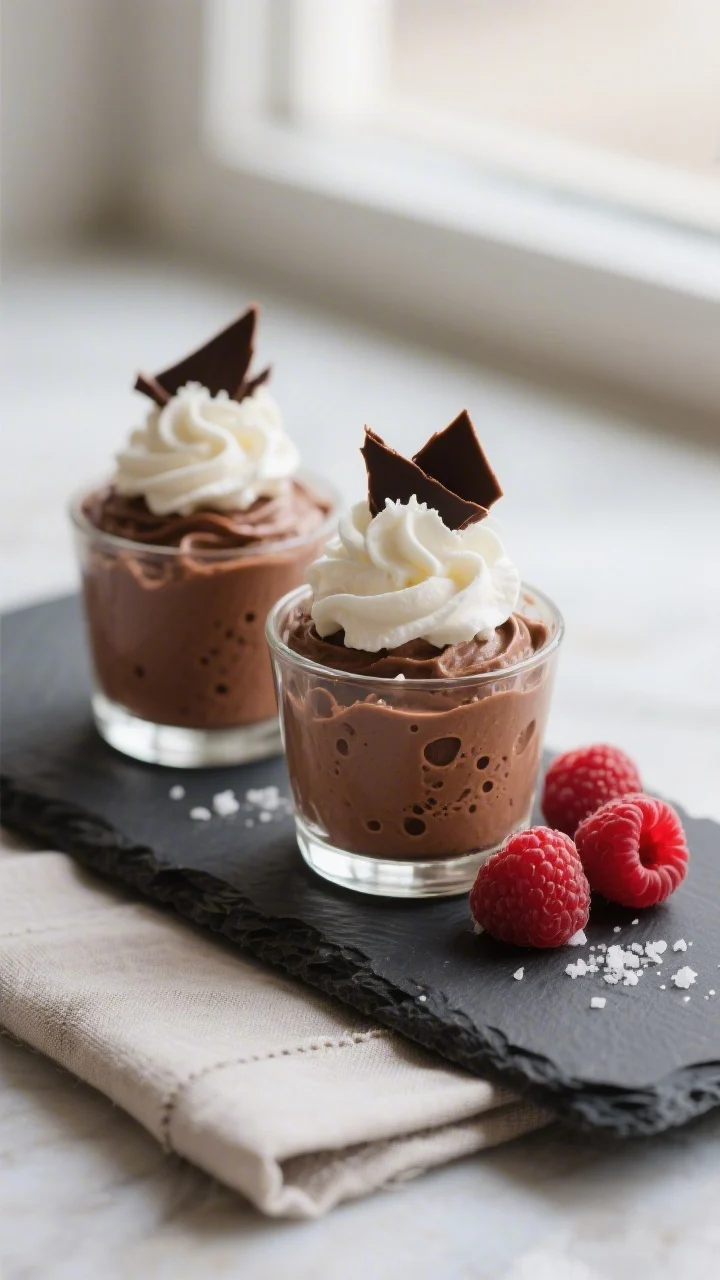
- Portion and chill. Spoon the mousse into small glasses, ramekins, or cups. Cover and chill for at least 2 hours, or up to 24 hours. It will firm up and become silky.
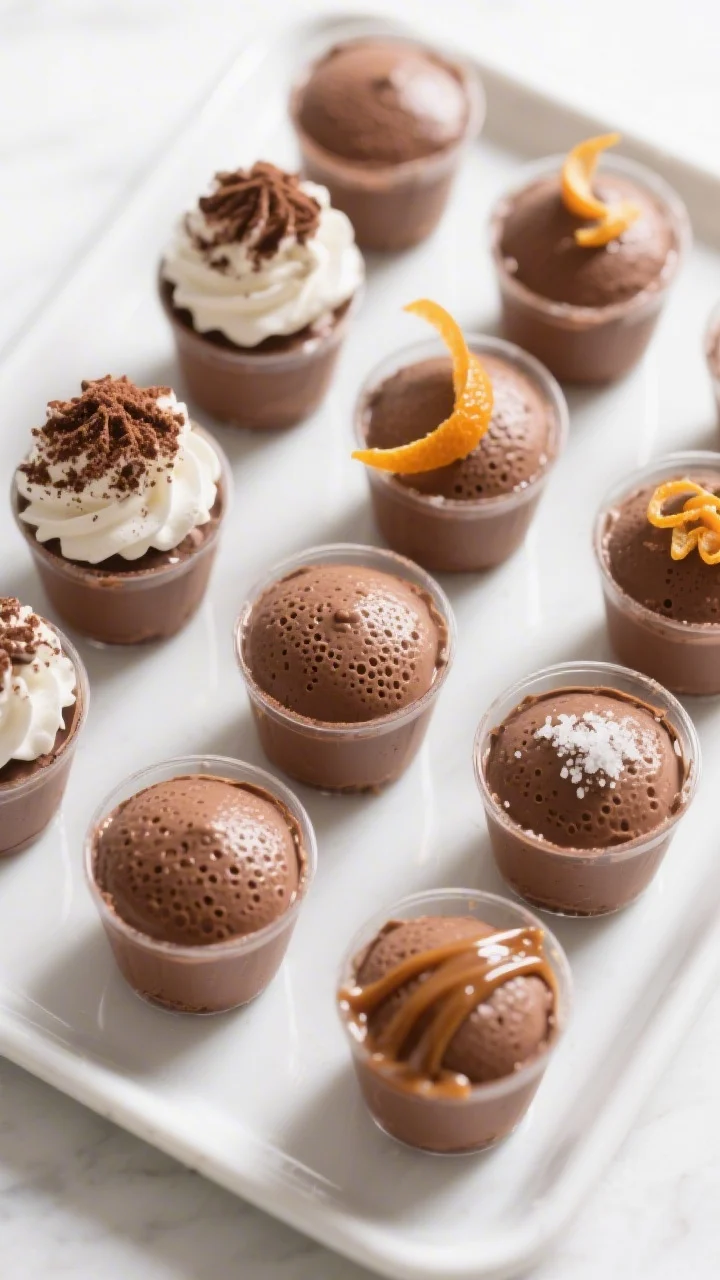
- Garnish and serve. Top with a little whipped cream, shaved chocolate, or berries. A tiny sprinkle of flaky sea salt really wakes up the chocolate.
What Makes This Special
This mousse strikes the perfect balance between light and rich.
It feels lush on the spoon but never heavy. The technique focuses on gentle folding, which gives it that classic airy texture without fuss.
It’s also flexible. You can make it dairy-free, adjust the sweetness, or add flavors without messing it up.
And because it sets in individual cups, it’s easy to serve, store, and dress up with a dollop of whipped cream or fresh berries.
Most importantly, this recipe is truly approachable. No water baths, no egg tempering drama, no complicated steps. Just melt, whisk, fold, and chill.
Shopping List
- Dark chocolate (60–70% cocoa): 6 ounces (170 g), chopped
- Heavy cream: 1 cup (240 ml), very cold
- Large eggs: 2, separated (use pasteurized if concerned about raw eggs)
- Granulated sugar: 3 tablespoons, divided
- Unsalted butter: 2 tablespoons (optional, for extra silkiness)
- Vanilla extract: 1 teaspoon
- Pinch of salt
- Espresso powder or strong coffee: 1 teaspoon (optional, boosts chocolate flavor)
Optional garnishes: Whipped cream, shaved chocolate, fresh berries, flaky sea salt, or a drizzle of caramel.
Step-by-Step Instructions
- Chill your tools. Place your mixing bowl and beaters in the fridge for 10 minutes. Cold tools help cream whip faster and hold better.
- Melt the chocolate. In a heatproof bowl, add the chopped chocolate, butter, and espresso powder if using.
Set the bowl over a pot of barely simmering water (don’t let it touch the water) and stir until smooth. Remove from heat and let it cool to lukewarm. It should be glossy and slightly warm, not hot.
- Whip the cream. In the chilled bowl, add the heavy cream and 1 tablespoon of sugar.
Beat until you get soft peaks—creamy, not stiff. Set aside in the fridge.
- Make the egg base. In a clean bowl, whisk the egg yolks with 1 tablespoon of sugar, vanilla, and a pinch of salt until thick and pale, about 1 minute by hand. Stir this into the cooled chocolate until fully blended.
If the chocolate looks too thick, add 1 tablespoon of cream to loosen it.
- Whip the egg whites. In another clean, dry bowl, beat the egg whites until foamy. Slowly sprinkle in the remaining 1 tablespoon of sugar and continue beating until you have glossy soft peaks. Don’t overdo it; you want them supple, not dry.
- Lighten the chocolate. Fold one big spoonful of whipped cream into the chocolate mixture to loosen it.
Use a gentle, sweeping motion with a spatula. This step makes the next folds easier.
- Fold in the egg whites. Add the whipped egg whites in two additions, folding gently to keep the air. Stop as soon as you don’t see big streaks.
A few small streaks are okay; overmixing will deflate it.
- Add the remaining cream. Fold in the rest of the whipped cream just until combined. The mousse should look fluffy, smooth, and a shade lighter than before.
- Portion and chill. Spoon the mousse into small glasses, ramekins, or cups. Cover and chill for at least 2 hours, or up to 24 hours.
It will firm up and become silky.
- Garnish and serve. Top with a little whipped cream, shaved chocolate, or berries. A tiny sprinkle of flaky sea salt really wakes up the chocolate.
Keeping It Fresh
Store covered in the fridge for up to 3 days. The texture stays lovely, and the flavors actually deepen.
If you plan to garnish with fruit or whipped cream, add those right before serving to keep everything fresh.
Chocolate mousse doesn’t freeze well—it can turn grainy when thawed. If you need to make it ahead for a party, prepare it the morning of or the night before and keep it chilled.
Health Benefits
Chocolate mousse is a treat, but there are a few bright spots. Dark chocolate contains antioxidants like flavanols, which can support heart health. Choosing 60–70% cocoa gives you robust flavor with less sugar.
Using whipped cream and eggs means you get protein and fat that help with satiety, so a small portion goes a long way.
If you’re mindful about sweetness, you can slightly reduce the sugar without sacrificing taste.
That said, it’s still dessert. The win here is portion control—serve in small cups and savor slowly.
What Not to Do
- Don’t mix while the chocolate is hot. Hot chocolate can seize or scramble the eggs. Let it cool to lukewarm first.
- Don’t overwhip the cream or egg whites. Stiff, dry peaks make folding difficult and can lead to a grainy mousse.
- Don’t rush the chill time. The texture needs at least 2 hours to set.
Overnight is even better.
- Don’t skip the salt. A pinch of salt sharpens the chocolate flavor and balances sweetness.
- Don’t use low-quality chocolate. The flavor is all about the chocolate. Choose a bar you enjoy eating on its own.
Variations You Can Try
- Mocha Mousse: Add 1–2 teaspoons espresso powder and garnish with cocoa-dusted whipped cream.
- Orange-Chocolate: Stir in 1 teaspoon orange zest and a splash of orange liqueur.
- Mint-Chocolate: Add 1/2 teaspoon peppermint extract and top with crushed cocoa nibs.
- Spiced: Fold in a pinch of cinnamon and a whisper of cayenne for gentle heat.
- Dairy-Free: Use coconut cream (whipped) instead of heavy cream and a dairy-free dark chocolate. Expect a faint coconut note.
- Egg-Free: Skip eggs entirely and make a simple two-ingredient mousse: melt 7 oz (200 g) dark chocolate and fold into 1 1/4 cups (300 ml) softly whipped cream or aquafaba.
Chill as usual.
- Ultra-Light: Use more egg whites (3 whites, 2 yolks) for extra lift and a slightly less rich bite.
FAQ
Can I use milk chocolate instead of dark?
Yes, but it’s sweeter and softer. Reduce the added sugar by 1–2 tablespoons and expect a lighter chocolate flavor. Aim for a 40–45% cocoa milk chocolate for best results.
Are raw eggs safe?
Use pasteurized eggs if you’re concerned, or choose the egg-free variation.
Many grocery stores sell cartons of pasteurized shell eggs, which taste and behave like regular eggs but are safer for no-cook desserts.
Why did my mousse turn grainy?
Common reasons are overheated chocolate, overwhipped cream, or rough folding. Next time, cool the chocolate to lukewarm, whip to soft peaks only, and fold with slow, broad motions. If it happens, chill thoroughly—texture often improves after resting.
How far in advance can I make it?
Make it up to 24 hours ahead.
Keep it covered and chilled. Garnish right before serving for the freshest look and texture.
Can I make it without coffee?
Absolutely. Coffee simply boosts the chocolate notes.
If you skip it, the mousse will still be rich and delicious.
What size portions work best?
Small is ideal. Aim for 1/2 cup servings in small glasses or ramekins. It’s rich, so a modest portion feels satisfying.
Can I fix overwhipped cream?
If it’s just past soft peaks, gently stir in 1–2 tablespoons of unwhipped cream to loosen it.
If it’s turned grainy or looks like butter, start a new batch.
What chocolate brand should I use?
Choose a brand you enjoy eating plain. Look for bars labeled 60–70% cocoa with cocoa butter (not vegetable oils) in the ingredients. Baking bars melt more smoothly than chocolate chips.
Why is my mousse too loose?
It may need more chill time, or the cream wasn’t whipped enough.
Chill an extra hour. Next time, aim for soft peaks that hold their shape when you lift the whisk.
Can I add liqueur?
Yes—1 to 2 tablespoons of Grand Marnier, Kahlúa, or Irish cream works well. Add it to the cooled chocolate with the vanilla.
In Conclusion
Chocolate mousse feels like a showstopper, but it’s easier than most weeknight desserts.
With quality chocolate, a cool bowl, and a gentle fold, you’ll get a cloud-light mousse every time. Make it ahead, dress it up, and watch it disappear. Once you master this version, you’ll have a reliable, elegant dessert in your back pocket—no stress required.
Printable Recipe Card
Want just the essential recipe details without scrolling through the article? Get our printable recipe card with just the ingredients and instructions.