
Chicken Kiev is a beloved dish known for its tender chicken, rich buttery filling, and golden crust. It’s a comfort food favorite that has won many hearts. With the right ingredients and tools, you can make a Chicken Kiev that’s both tender and full of flavor.
To perfect Chicken Kiev, you need to balance the chicken, buttery fillings, and golden crust. This balance makes a great Chicken Kiev stand out. By following a simple recipe, you can make a dish that’s not only delicious but also looks great.
Key Takeaways
- Chicken Kiev is a classic comfort food dish that features chicken breast recipes with a buttery filling and a golden crust.
- The key to a great Chicken Kiev is achieving a balance between the chicken, the filling, and the crust.
- Using high-quality ingredients and the right tools is essential for creating a tender and flavorful dish.
- A golden crust is a crucial element of Chicken Kiev, and it can be achieved with the right breading technique.
- Buttery fillings are a hallmark of Chicken Kiev, and they add a rich and creamy element to the dish.
- With a little practice, you can master the art of making Chicken Kiev and create a dish that is sure to impress your friends and family.
The Rich History Behind Chicken Kiev
Chicken Kiev has a long and interesting history. It comes from Eastern European cuisine. This dish has become popular worldwide, loved for its comfort and taste.
The dish started in Ukraine, known as “Cotlet de Volaille” or “Chicken Cutlet.” It spread across Eastern Europe, with each country making it their own. Now, Chicken Kiev is enjoyed globally, often as a main dish or appetizer.
Origins in Eastern European Cuisine
Eastern European food is known for being hearty and flavorful. Chicken Kiev fits right in. It’s a chicken breast filled with herbs, butter, and sometimes cheese, then fried until golden.
Evolution to Modern Day Favorite
Today, Chicken Kiev is loved everywhere. Chefs and home cooks have made their own versions. It’s a dish that can be both comforting and adventurous.
| Country | Unique Twist |
|---|---|
| Ukraine | Traditional herbed butter filling |
| Poland | Added cheese and ham to the filling |
| Russia | Served with a side of sour cream and dill |
Essential Ingredients for Authentic Chicken Kiev
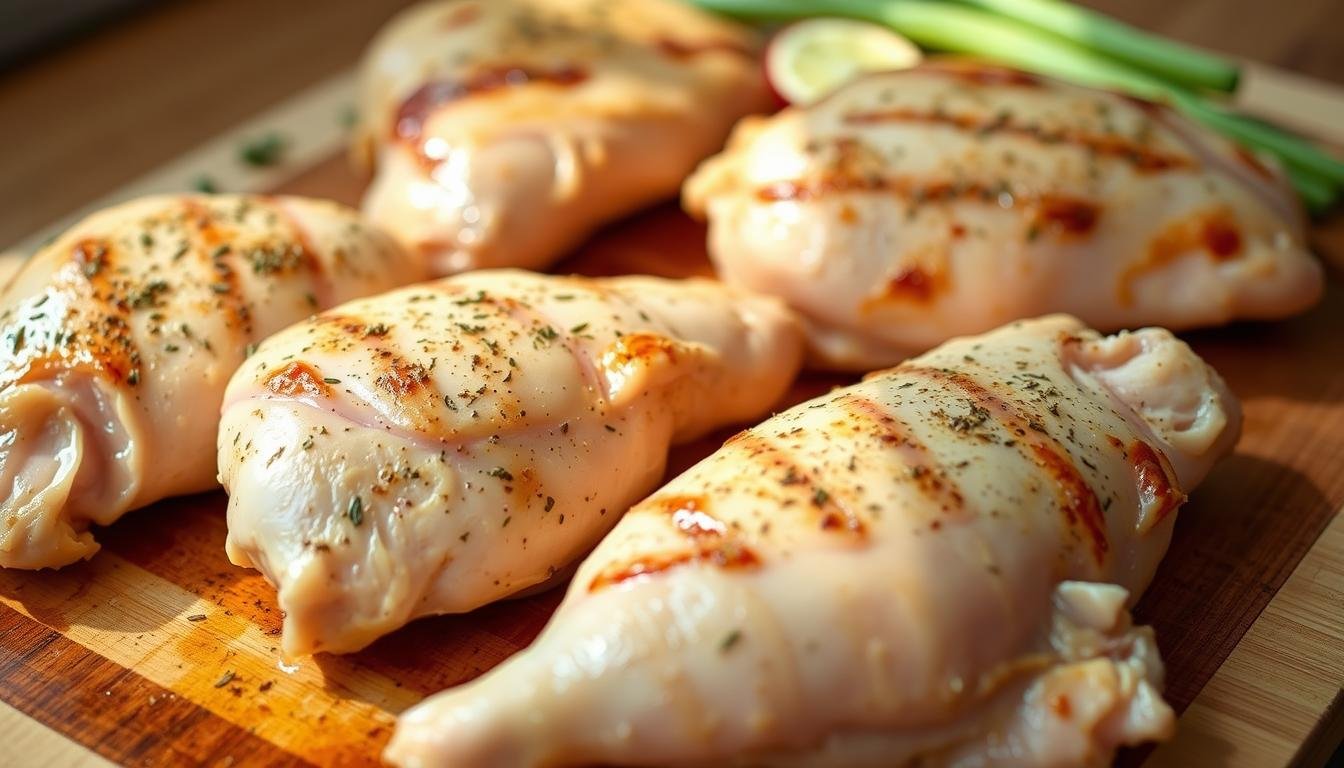
To make a real Chicken Kiev, you need top-notch ingredients. The dish has a chicken breast stuffed with butter, herbs, and sometimes cheese. Choose a chicken breast that’s fresh and soft. The butter should be creamy, and the herbs should smell great and be fresh.
Some key ingredients to focus on include:
- Fresh chicken breast for the best flavor and texture
- High-quality butter for a rich and creamy filling
- A mix of herbs such as parsley, dill, and chives for added flavor
Using these key ingredients will help you make a tasty and true Chicken Kiev. Make sure to pick the freshest and best ingredients for the best taste and texture.
Kitchen Tools and Equipment You’ll Need
To make Chicken Kiev, you need the right tools and equipment. A meat mallet and sharp knife are must-haves. They help pound the chicken and make clean cuts. Good kitchen tools make cooking easier and more fun.
There are also optional tools that can help a lot. A food processor makes the herbed butter filling easy. A pastry brush is great for egg wash, and a thermometer ensures the oil is just right.
Must-Have Utensils
- Meat mallet
- Sharp knife
- Cutting board
- Utensils for handling hot oil
Optional but Helpful Tools
- Food processor
- Pastry brush
- Thermometer
Having the right tools and equipment is key to cooking Chicken Kiev well. Quality kitchen tools make the process easier and more enjoyable. Always use the right tools for a safe and fun cooking experience.
Setting Up Your Workspace
Setting up your workspace right is crucial for smooth cooking. Make sure all tools and equipment are within reach. A clean and organized space helps you focus on making perfect Chicken Kiev.
Preparing the Perfect Herbed Butter Filling
To make a delicious Chicken Kiev, the herbed butter filling is key. It should be flavorful and aromatic. The herbs should complement the chicken well. It’s important to mix the herbs and butter right for the perfect consistency.
High-quality ingredients are essential for a great herbed butter filling. Parsley, dill, and chives are top choices. They bring a fresh and flavorful taste. Just mix softened butter with chopped herbs until they’re well combined.
Here are some tips for making the perfect herbed butter filling:
- Use room temperature butter for easier mixing
- Choose fresh herbs for the best flavor
- Don’t overmix the butter and herbs, as this can create a dense filling

A well-made herbed butter filling can make your Chicken Kiev special. With these tips and a bit of practice, you’ll make delicious and
| Herb | Quantity | Flavor Profile |
|---|---|---|
| Parsley | 1 tablespoon | Fresh, green |
| Dill | 1 tablespoon | Tangy, bright |
| Chives | 1 tablespoon | Mild, oniony |
Classic Chicken Kiev Recipe: Step-by-Step Guide
To make a delicious Chicken Kiev, start with a fresh chicken breast. Use various chicken breast recipes to prepare it. The key to a great dish is in the breading technique and cooking temperature.
First, butterfly and pound the chicken breast to make it thin and even. This helps the chicken cook evenly and prevents it from becoming too thick.
Next, create a butter pocket in the chicken breast and fill it with a mixture of herbed butter. This will give the chicken a rich and creamy flavor. Then, use a breading technique that involves dipping the chicken in flour, eggs, and breadcrumbs to create a crispy golden crust.
The cooking temperature is also crucial. It should be high enough to cook the chicken quickly and prevent it from drying out.
Here are some tips to keep in mind when cooking Chicken Kiev:
- Use a cooking temperature of around 375°F (190°C) to cook the chicken quickly and evenly.
- Don’t overcook the chicken, as it can become dry and tough.
- Use a variety of chicken breast recipes to find the one that works best for you.
By following these tips and using the right breading technique and cooking temperature, you can create a delicious Chicken Kiev dish. It’s sure to impress your family and friends.
Remember to experiment with different chicken breast recipes and breading techniques to find the one that works best for you.
| Ingredient | Quantity |
|---|---|
| Chicken breast | 4 |
| Herbed butter | 1/2 cup |
| Breadcrumbs | 1 cup |
Common Mistakes to Avoid
When making Chicken Kiev, it’s key to steer clear of common cooking mistakes. One big error is overstuffing the chicken breast with fillings. This can make the chicken burst open while it’s cooking.
To prevent this, leave a small border around the chicken breast without fillings. This ensures the chicken cooks evenly and avoids bursting. Another mistake is not cooking the chicken to the right temperature. This can lead to undercooked or overcooked chicken.

Other mistakes include using low-quality ingredients, not pounding the chicken thin enough, and not chilling it before cooking. By avoiding these errors, your Chicken Kiev will be perfectly cooked and tasty.
Here are some extra tips to remember:
- Choose fresh, high-quality ingredients for the best taste.
- Pound the chicken breast to an even thickness for even cooking.
- Chill the chicken in the fridge for at least 30 minutes before cooking. This helps it keep its shape.
Tips for Achieving the Perfect Golden Crust
A golden crust is key for Chicken Kiev. To get it right, you need to know the breading secrets. This includes the best breadcrumbs and how to get the right crunch. The oil temperature is also crucial for a golden crust.
Here are some tips to help you achieve the perfect golden crust:
- Use the right type of breadcrumbs: Panko breadcrumbs are a good choice as they produce a lighter and crisper crust.
- Don’t over-bread: Make sure to coat the chicken evenly, but avoid over-breading as this can lead to a greasy and heavy crust.
- Monitor the oil temperature: The ideal oil temperature for frying Chicken Kiev is between 325°F and 375°F. This will help you achieve a golden crust without burning the chicken.
By following these tips and using the right breading secrets, you can achieve a perfect golden crust for your Chicken Kiev. Remember to also test for doneness to ensure that the chicken is cooked to perfection.
Testing for doneness is crucial to ensure that the chicken is cooked through and the golden crust is crispy. You can use a thermometer to check the internal temperature of the chicken, or you can check for visual cues such as a golden brown color and a crispy texture.
| Temperature | Doneness |
|---|---|
| 165°F | Cooked through |
| 180°F | Overcooked |
Serving Suggestions and Side Dishes
Chicken Kiev is a versatile dish that can be served with many side dishes. Traditional choices like mashed potatoes and steamed vegetables are great. They complement the chicken’s flavors and make a complete meal.
For a modern twist, try Chicken Kiev with a fresh salad or roasted vegetables. These add color and flavor, making it perfect for special occasions. Here are some popular options:
- Roasted asparagus with lemon butter
- Garlic and herb roasted potatoes
- Steamed broccoli with hollandaise sauce
Adding gravy or sauce can also enhance the dish. Try a rich mushroom gravy or a tangy lemon sauce. These can make your meal unforgettable and delicious.
Here are some classic accompaniments:
| Accompaniment | Description |
|---|---|
| Mashed Potatoes | A classic comfort food that pairs well with Chicken Kiev |
| Steamed Vegetables | A light and healthy option that complements the rich flavors of the chicken |
| Roasted Vegetables | A flavorful and colorful option that adds texture and variety to the dish |
Make-Ahead and Storage Instructions
Chicken Kiev is great for busy days because you can make it ahead of time. Just follow the recipe until you bread the chicken. Then, store it in an airtight container in the fridge for up to 24 hours. When you’re ready, fry it as the recipe says.
For storage instructions, cool the chicken to room temperature before refrigerating or freezing. This step prevents bacteria and keeps the chicken fresh. You can store cooked chicken in the fridge for up to 3 days or freeze it for up to 3 months.
Leftovers can be used in many ways. Shred or chop the chicken and add it to salads, soups, or pasta. You can also make chicken sandwiches or wraps with it.
- Reheat cooked chicken to an internal temperature of 165°F (74°C) to ensure food safety.
- Use the oven or microwave to reheat chicken, as these methods help retain moisture and flavor.
- Add a little bit of oil or broth to the chicken when reheating to keep it moist and tender.
| Storage Method | Storage Time | Reheating Instructions |
|---|---|---|
| Refrigerator | Up to 3 days | Reheat to 165°F (74°C) |
| Freezer | Up to 3 months | Thaw overnight, then reheat to 165°F (74°C) |
Variations on Traditional Chicken Kiev
Chicken Kiev can be made to fit different tastes and diets. For those who can’t have gluten, you can use gluten-free breadcrumbs. This change might need some tweaks to get the right texture, but it’s worth it.
Using an air fryer is a healthier way to make Chicken Kiev. It cuts down on calories and keeps the chicken crispy on the outside and soft on the inside. Try adding sautéed spinach or mushrooms to the butter for extra taste.
Here are some filling ideas:
- Vegetarian option: use portobello mushrooms instead of chicken
- Vegan option: swap chicken and butter for tofu and vegan butter
- Spicy option: mix diced jalapeños into the herbed butter
These changes work well with an air fryer for a crispy finish without too much oil. For a gluten-free version, pick gluten-free breadcrumbs and adjust cooking times.
Trying out these variations lets you make a Chicken Kiev that’s just right for you. Whether you’re using an air fryer or gluten-free ingredients, focus on the details and the quality of your filling ideas.
| Variation | Ingredients | Cooking Method |
|---|---|---|
| Gluten-Free | Gluten-free breadcrumbs, chicken breast, herbed butter | Air fryer or oven |
| Air Fryer | Chicken breast, herbed butter, breadcrumbs | Air fryer |
| Vegetarian | Portobello mushrooms, herbed butter, breadcrumbs | Oven or air fryer |
Conclusion: Mastering Your Homemade Chicken Kiev
Reaching the end of our journey with homemade Chicken Kiev shows it’s a rewarding dish to master. By following the steps in this guide, you can make this classic dish in your kitchen. You’ll learn how to pick high-quality chicken breasts and get a golden crust.
Chicken Kiev can be a main course or a part of your favorite chicken recipes. It’s sure to wow your family and friends. With a little practice, you’ll become a pro at making this dish.
Now, get your ingredients ready and start cooking. Let’s make the chicken breast even more delicious. Bon appétit, and happy cooking!
Printable Recipe Card
Want just the essential recipe details without scrolling through the article? Get our printable recipe card with just the ingredients and instructions.